You find Create Sensor under Service Provider section in the main menu. In order to create sensors, the user must be granted Sensor Admin privileges at either the Service Provider or Customer level.
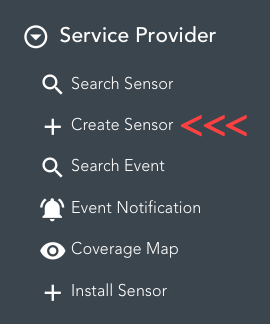
When clicking Create Sensor, a popup will appear with two tabs. One tab to create a single sensor and the other tab is to create multiple sensors in batch.
| Create single sensor |
| Create sensors in Batch |

To create a single sensor, fill in the requested fields. By pressing CREATE you will add the sensor in Netmore Portal, but it will not be provisioned in the network server. To provision the sensor in the network server, see Provisioning sensor section.
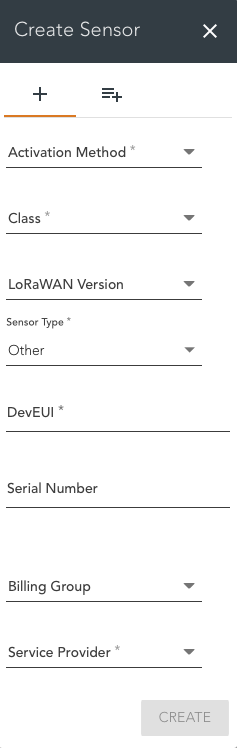
If the user has access to only one Service Provider, it will be selected automatically. Otherwise, there will be a dropdown list to choose a Service Provider. After selecting the Service Provider, you can also choose a Customer associated with the new sensor.
Below, you will find the mandatory fields when creating a sensor.
Mandatory fields |
|---|
DevEUI |
Activation Method |
Class |
Sensor Type |
Service Provider |
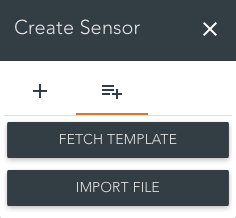
Create sensors in Batch
Link to a YouTube video where you can watch a walkthrough on how to create sensors in batch.
Create sensors using batch-list
To create multiple sensors at the same time, click on the tab to the right and press FETCH TEMPLATE.
This will open an option window when you can choose what fields you want to be created in an Excel file. Mandatory fields are already selected and cannot be removed
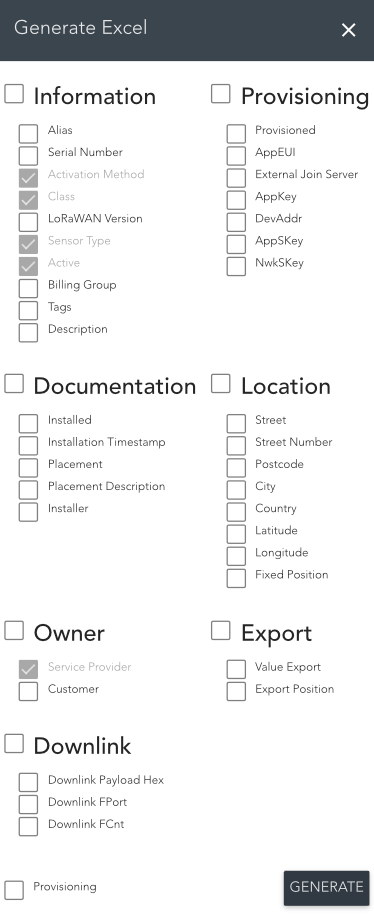
If you want to provision sensors during creation, select the Provisioning box in the lower left. This will add all the mandatory fields required for provisioning.
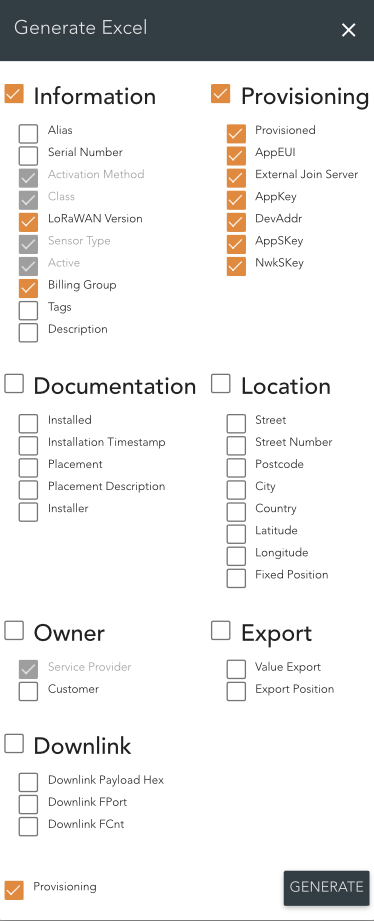
After selecting the required fields, click on GENERATE to download an Excel file.
Fill in the information about new sensors line by line and save it when you're ready. Then, go back to 'Create Sensor,' select the tab for 'Create in Batch,' and choose 'IMPORT FILE.' Select the saved file and upload it.
.png)
If the user has made modifications to the file, such as adding or removing columns, or if there is unknown data added, errors will be displayed in the list, and the import process will not be completed until these errors are resolved.
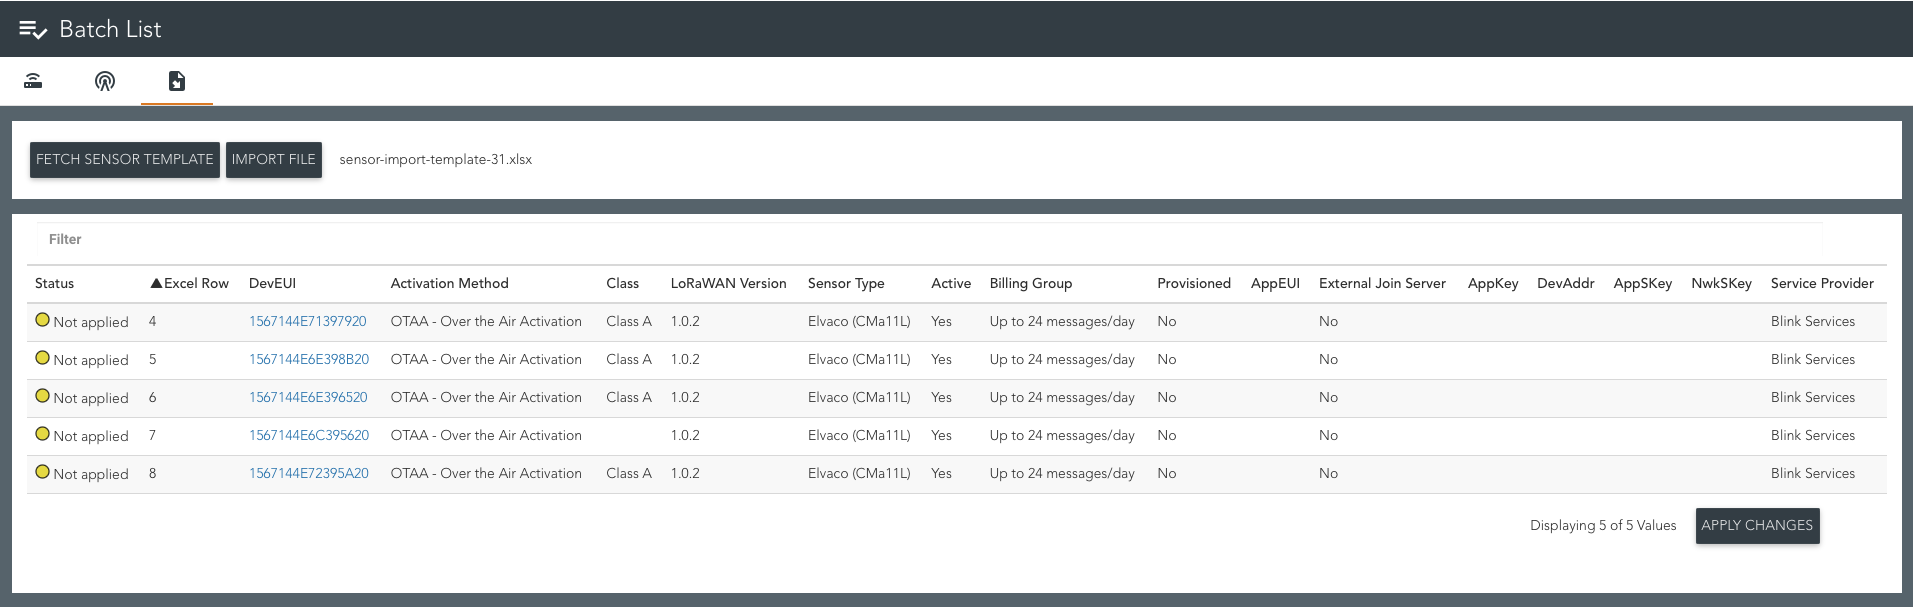
If all the sensors were uploaded without errors, a button labeled 'APPLY CHANGES' will be enabled. Click this button to complete the batch upload.
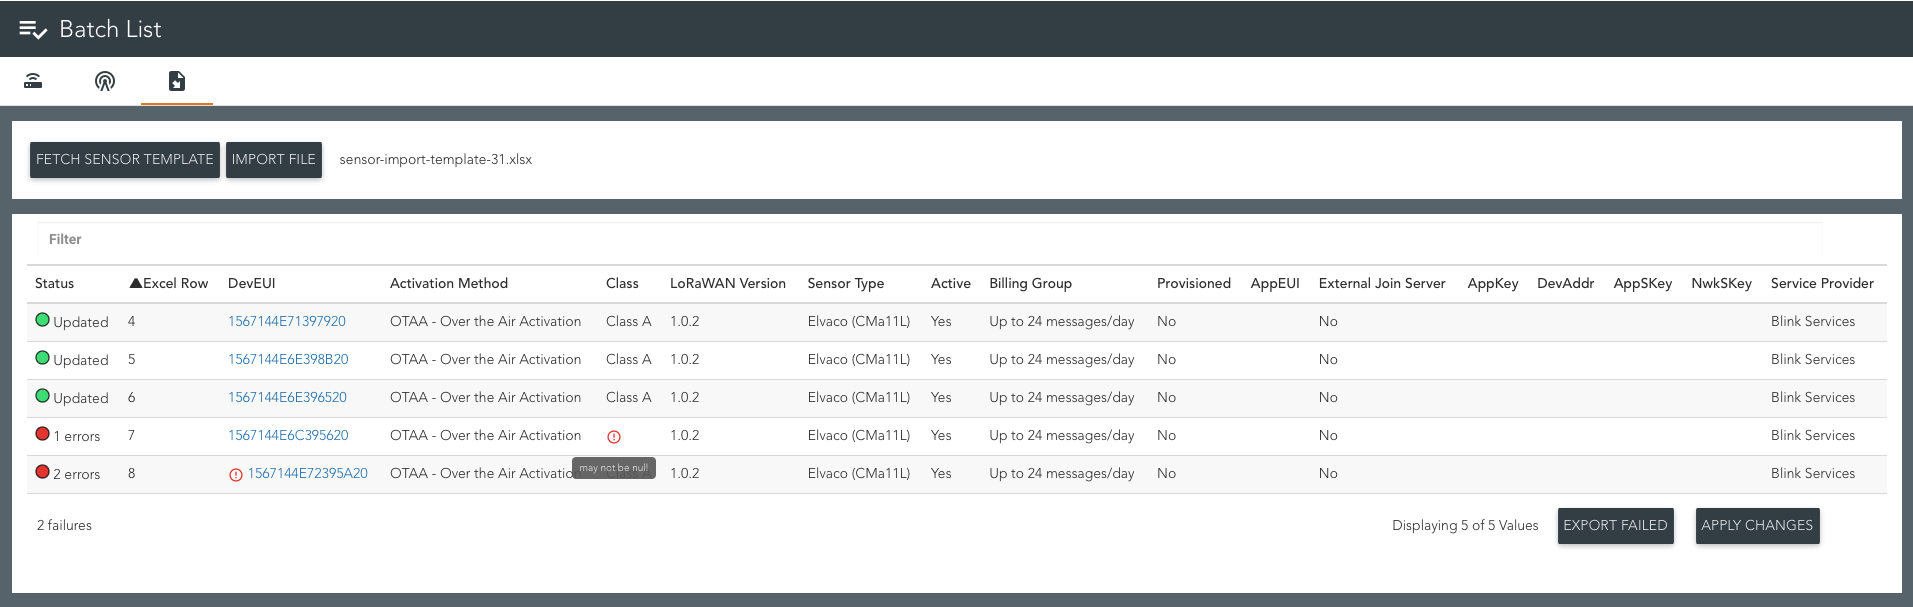
Errors may occur during the import process if the sensor already exists with another Sensor Provider or if some mandatory data is missing (null). In such cases, these rows will not be imported.