Install Sensor function
This document describes how to install a sensor / meter in Netmore LoRaWAN Portal. Installing is a status together with documentation info that separates the sensor from not installed sensors.
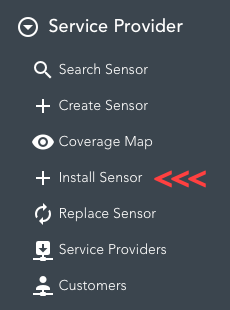
The function to install a sensor in field is found under Service Provider in the left menu or by following this link: Install Sensor.
Scanning
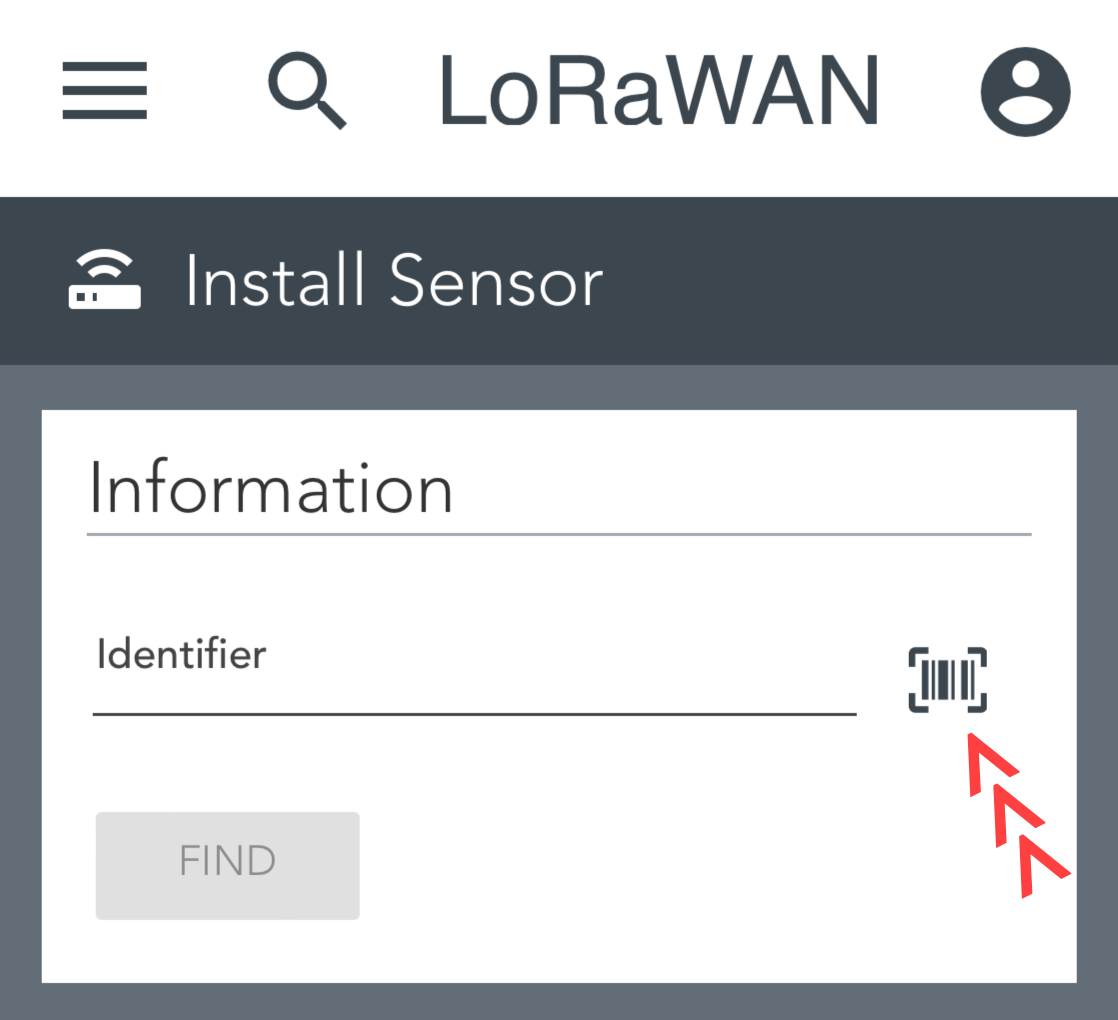
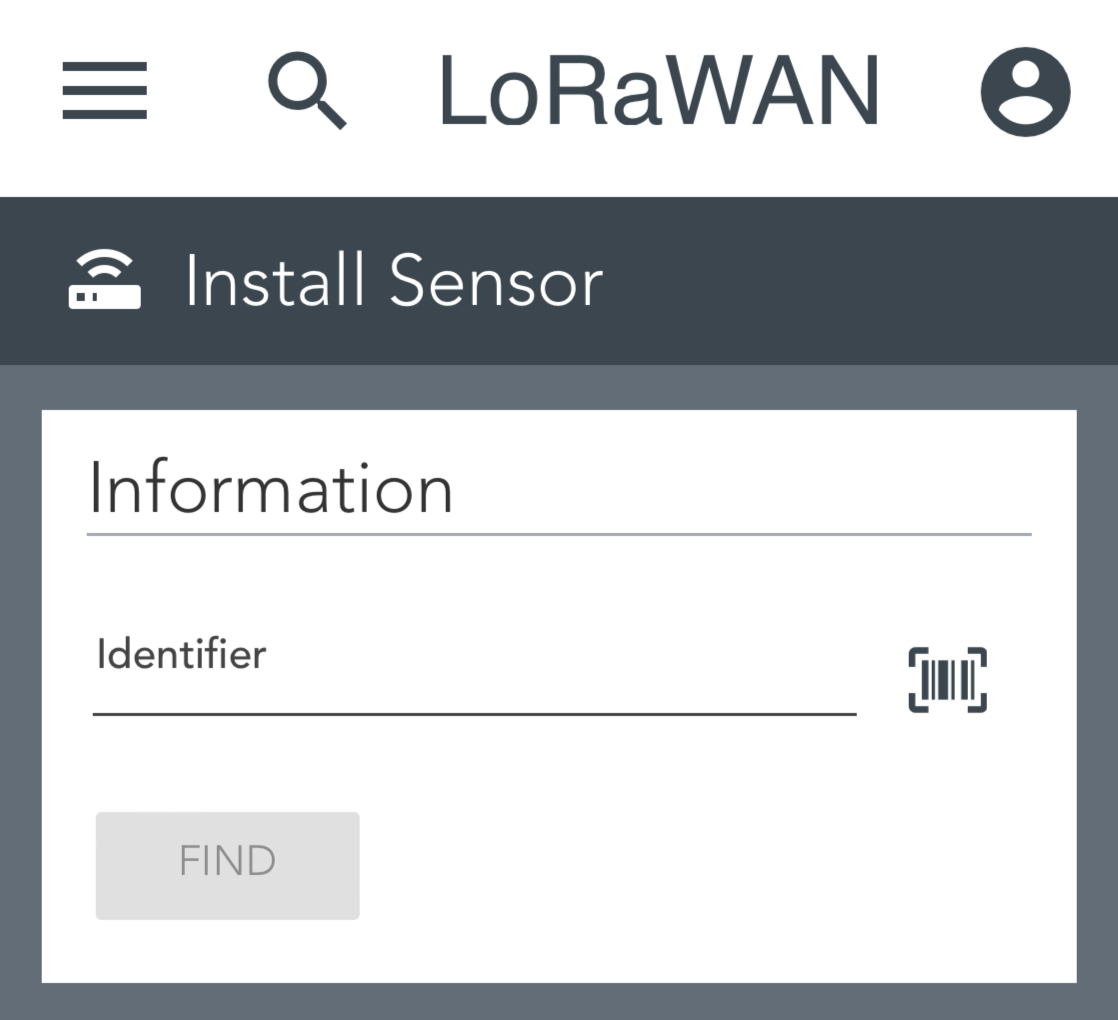
It is possible to enter both DevEUI and Serial Number as identifier or scanning the sensor using the camera by clicking the scan icon.
 When scanning for the first time, you will be requested to give the website access to the camera of your device.
 If there are cameras in both front and back of your device, you should choose the back camera. Then put the barcode / QR-code in the square above.
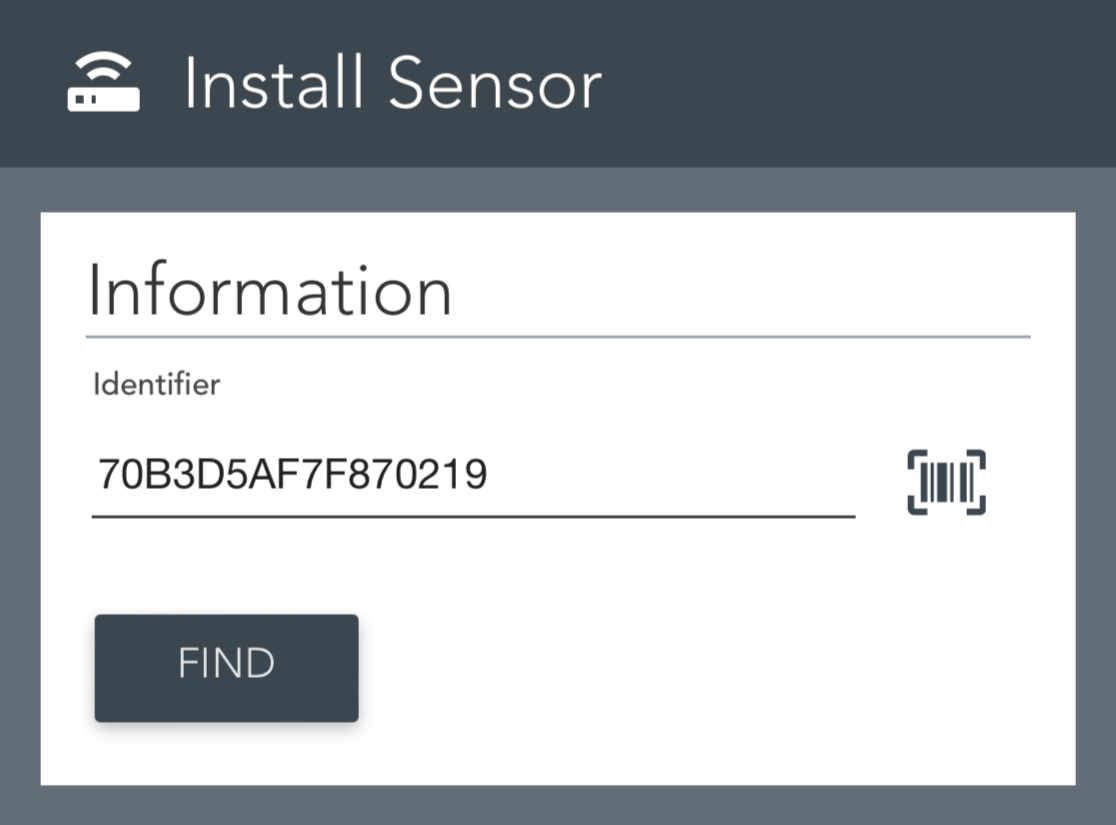
When the barcode / QR-code is identified, the DevEUI will appear and automatically open the sensor.
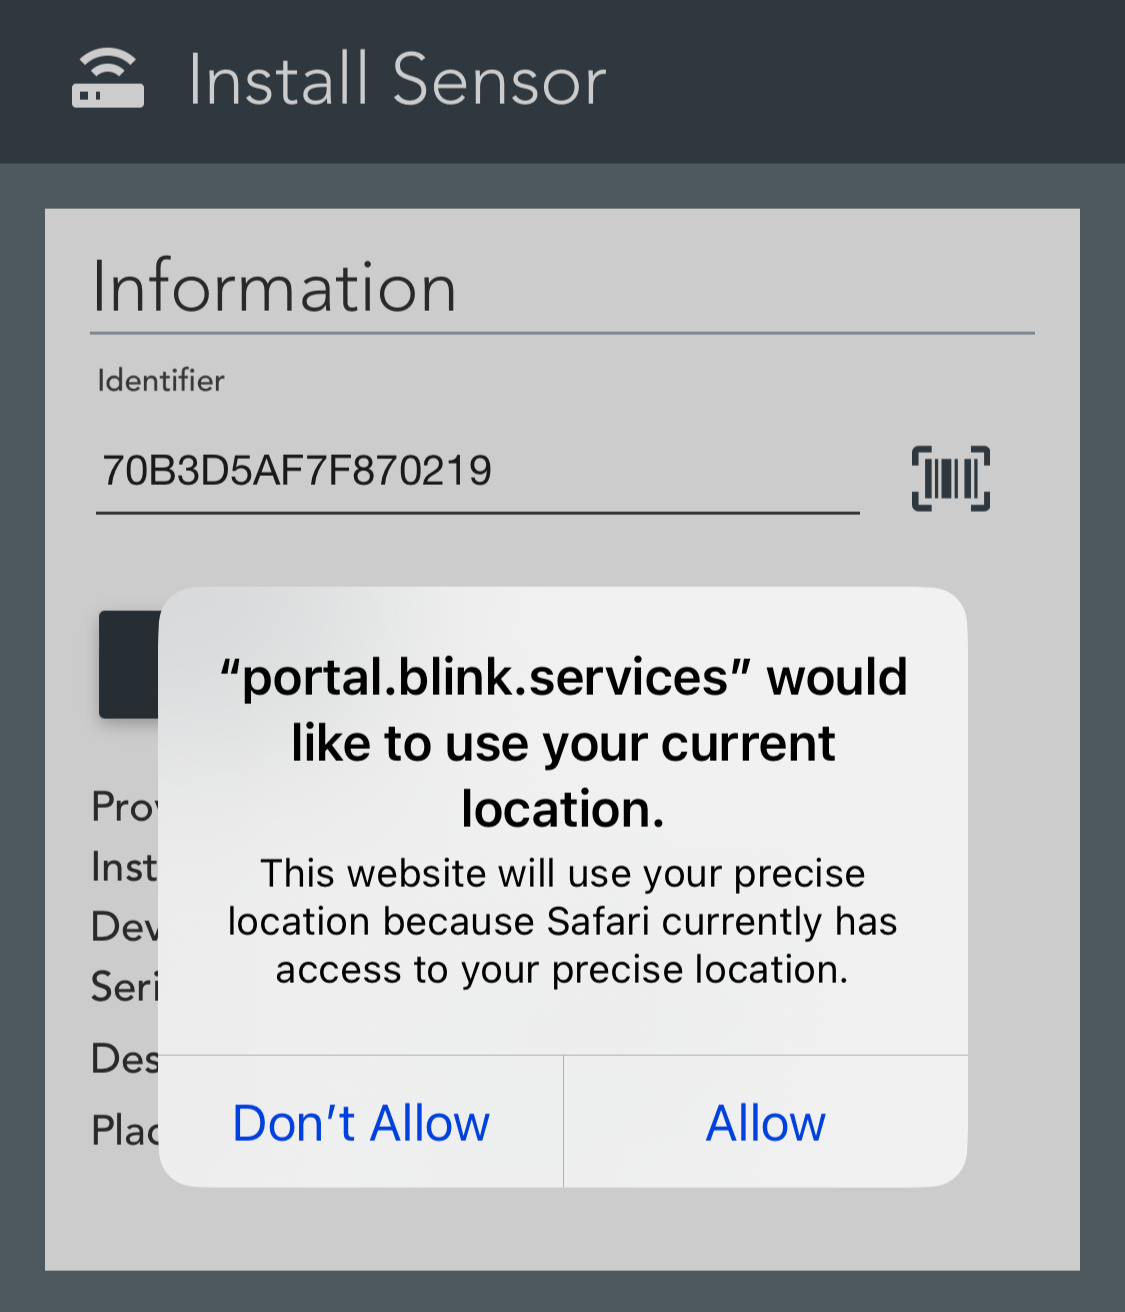 When entering a sensor for the first time, you will be requested to give the website access to your current location (GPS coordinates).
Information
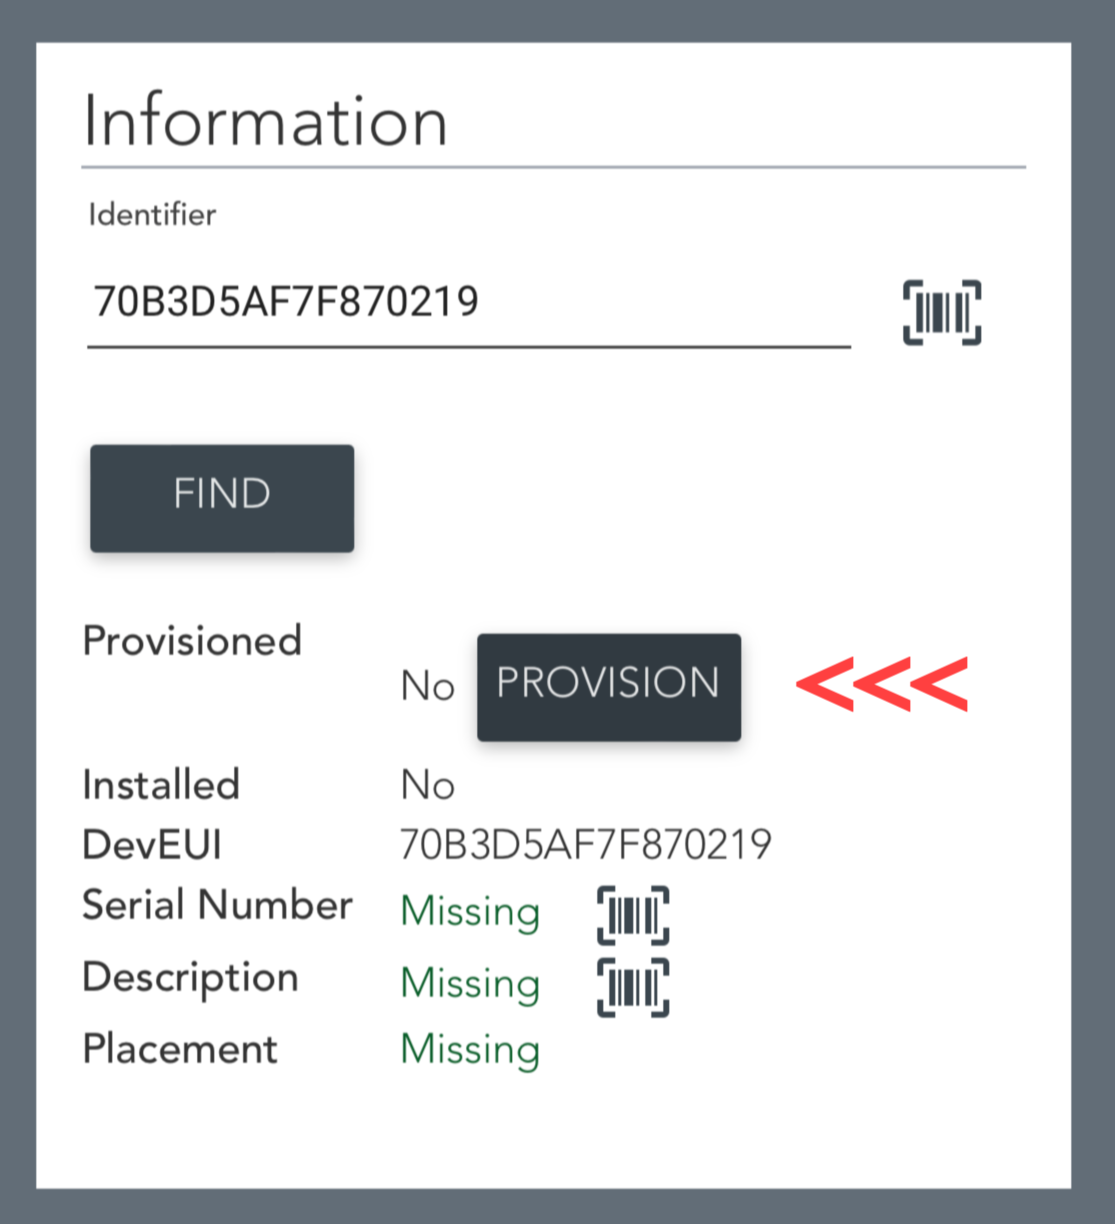
A sensor can be provisioned (enabling the sensor to communicate) in advance and then the provision key will appear. If all the keys and other data have been entered into LoRaWAN Portal in advance, it's possible to provision the sensor clicking the provision button.
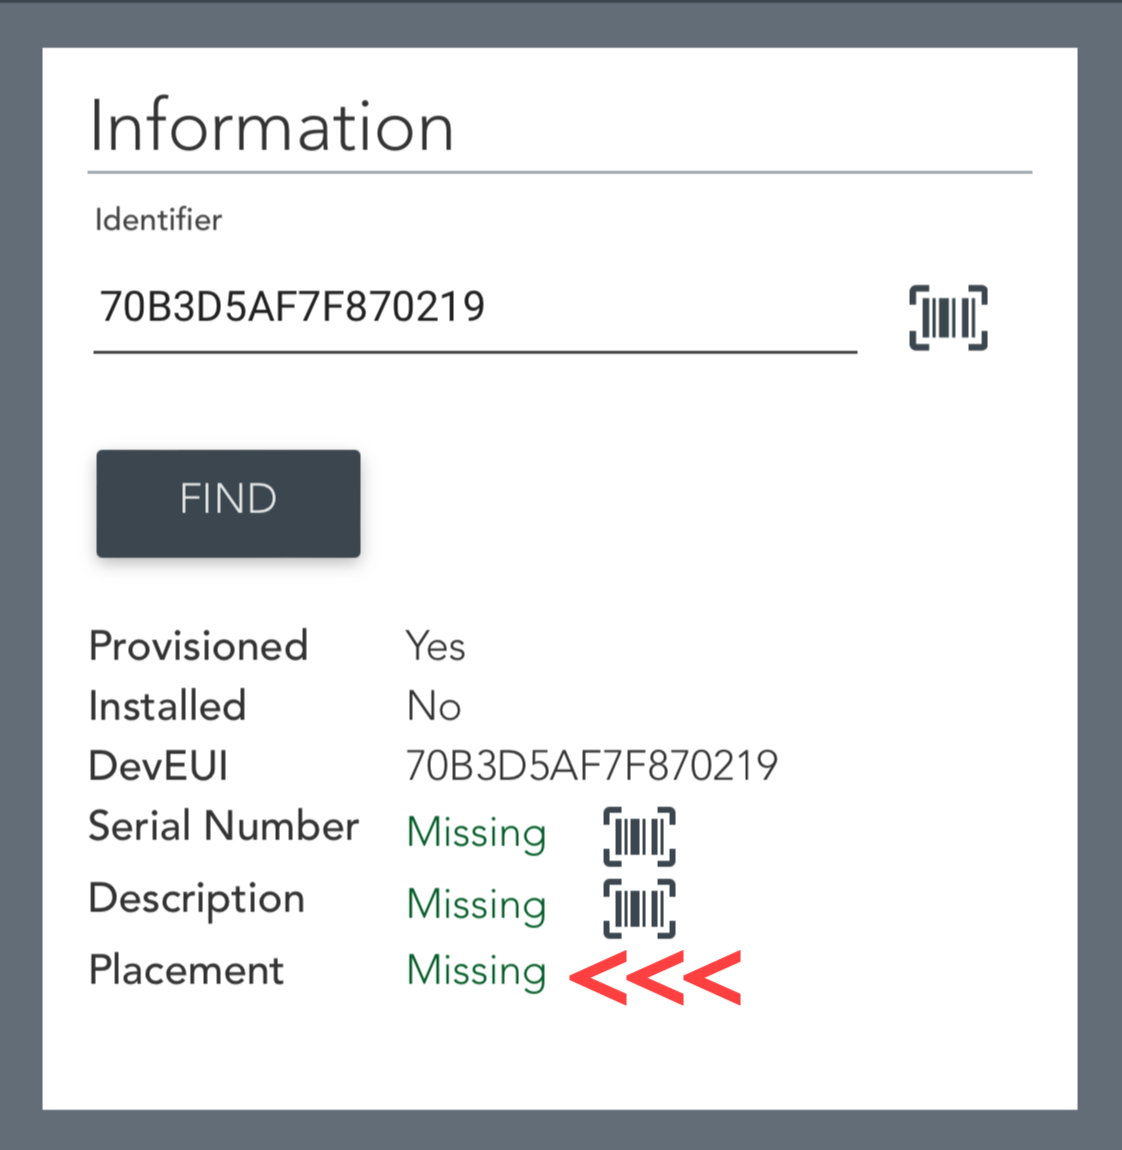
All green fields can be edited. Serial Number and Description can be filled with data by scanning a barcode / QR-code.
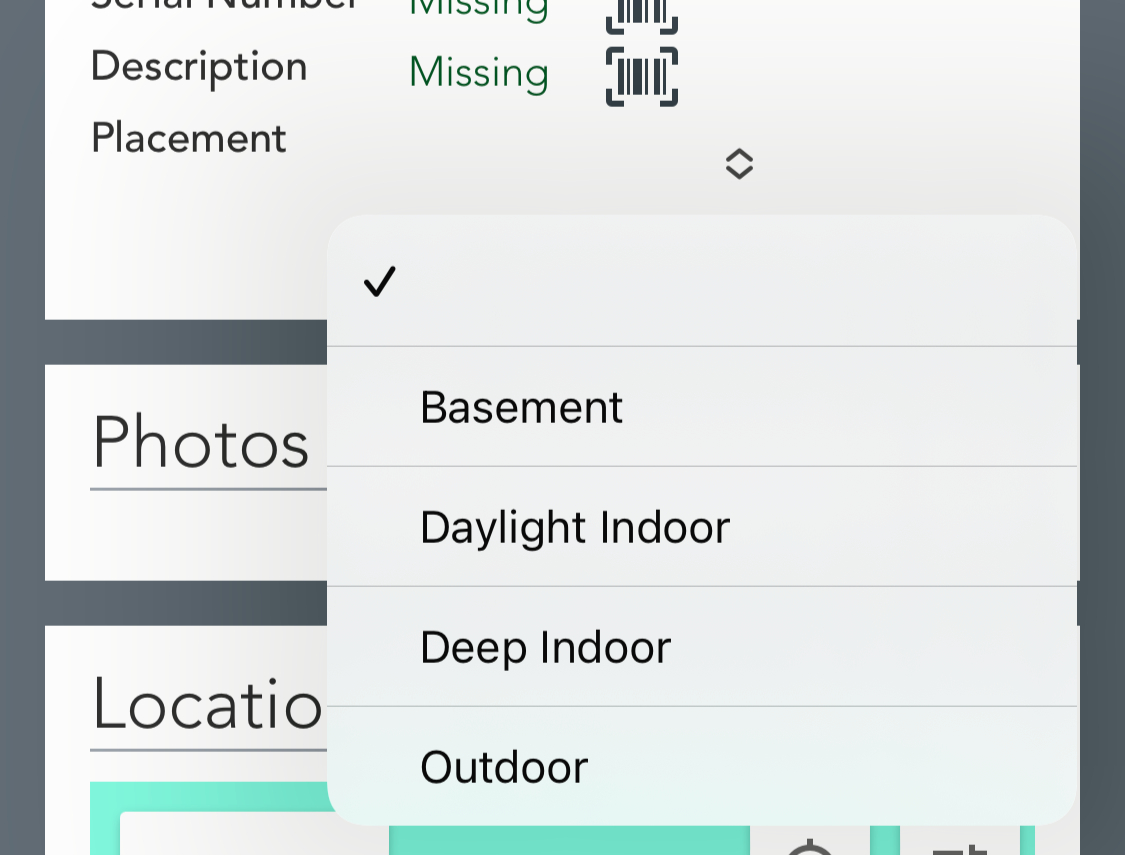
When clicking the placement value, a popup appears where it's possible to choose where the sensor is placed.
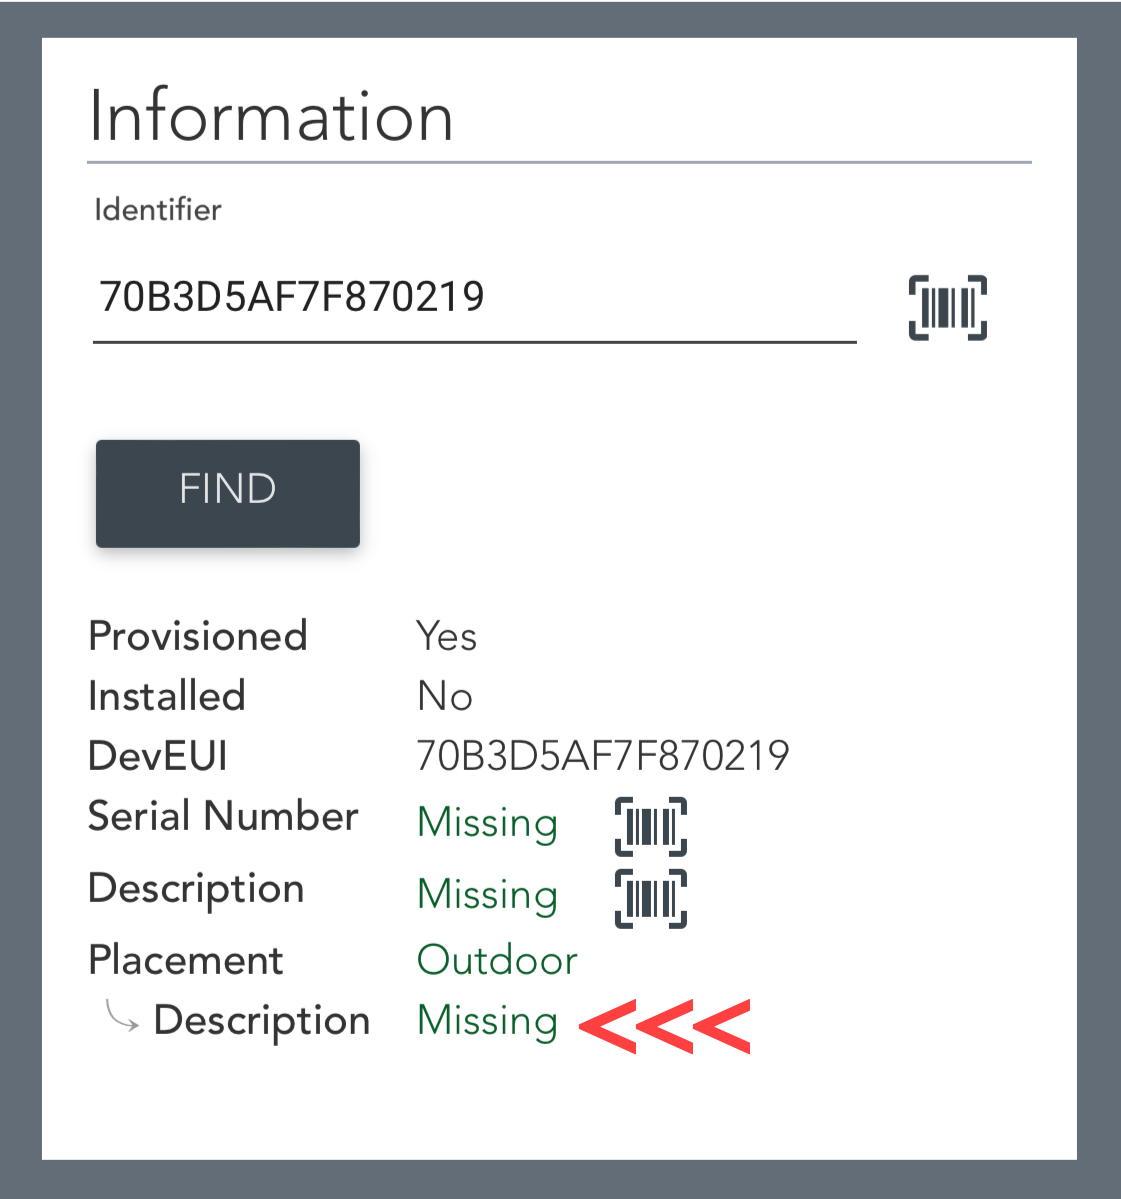
Apart from the four standard values it is also possible to enter a description.
Photos

It is possible to attach one or several photos to document the installation.
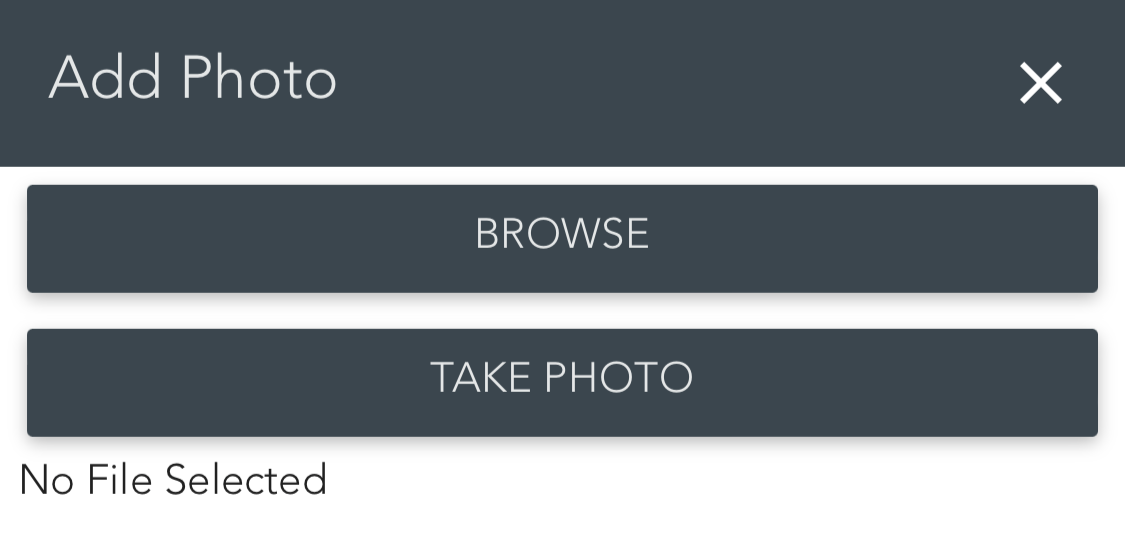
The user can choose to browse the existing phots of the device or take new photos.
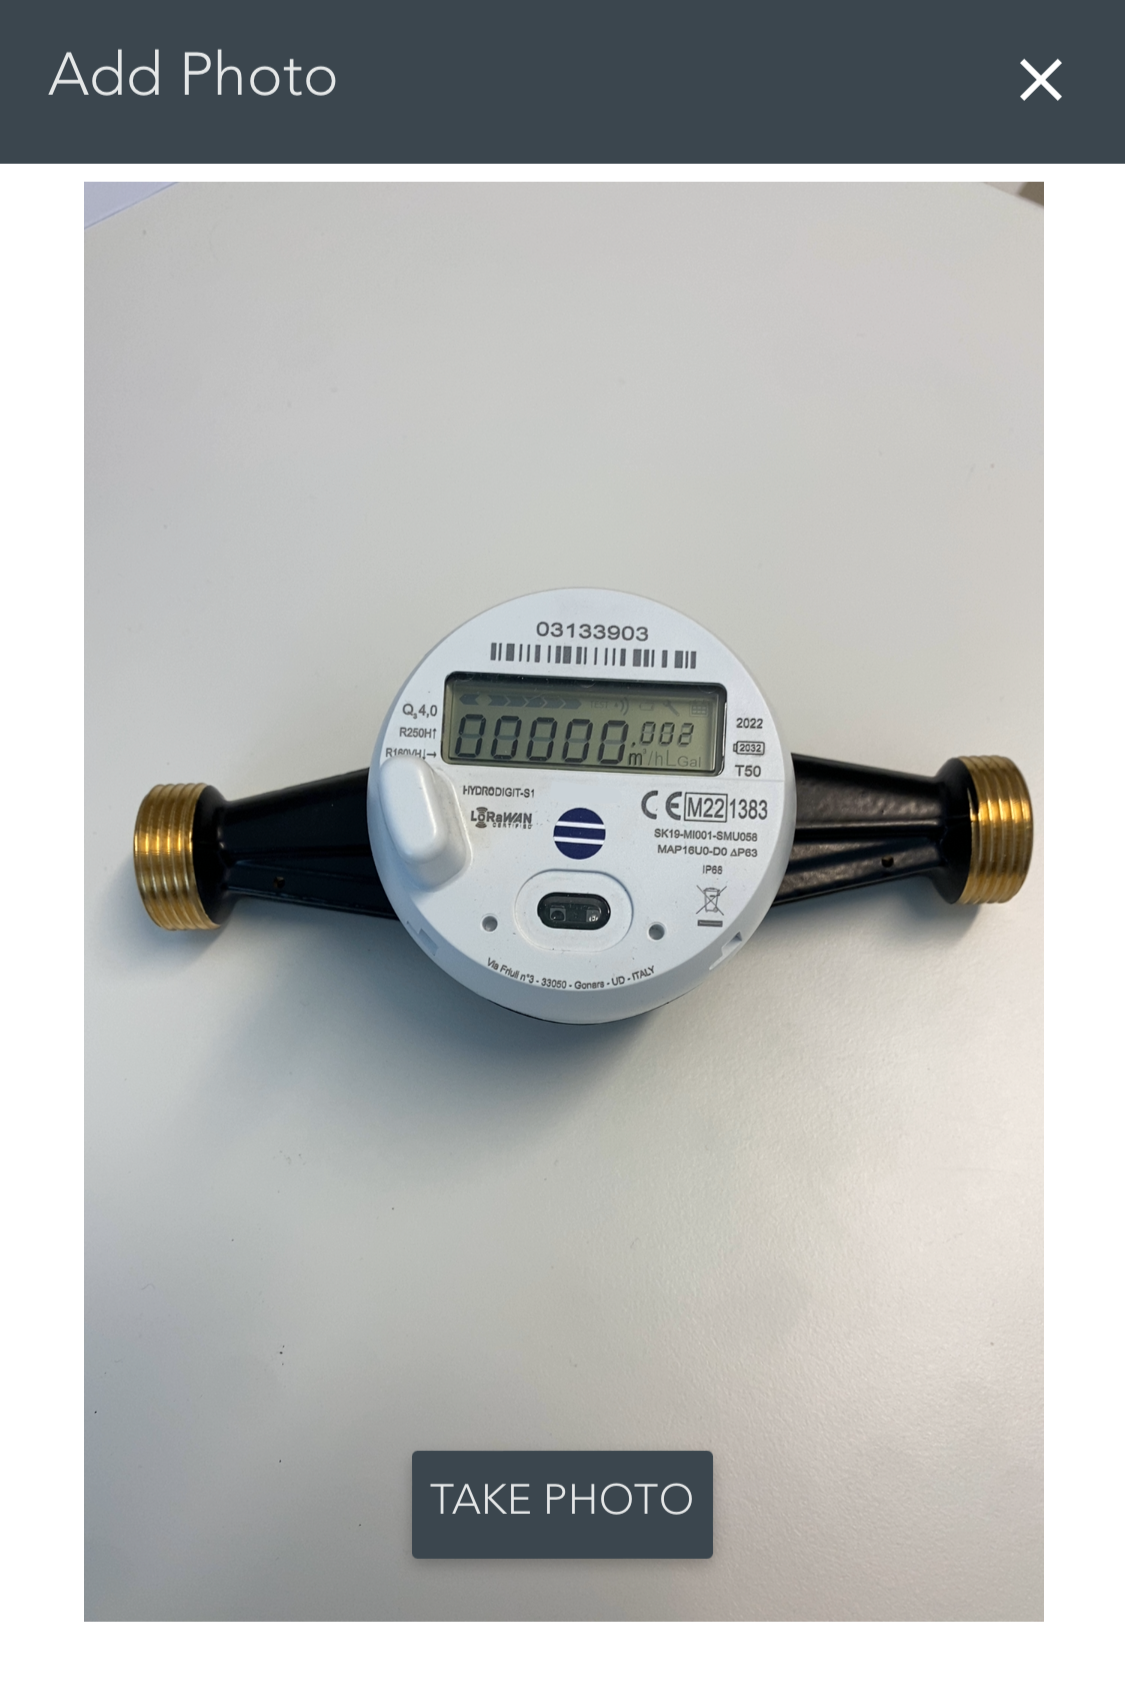
If you choose to take a new photo, point the camera and press TAKE PHOTO button.

You will then see a preview of the photo. Here you can choose to take a new photo or add the photo to the installation.
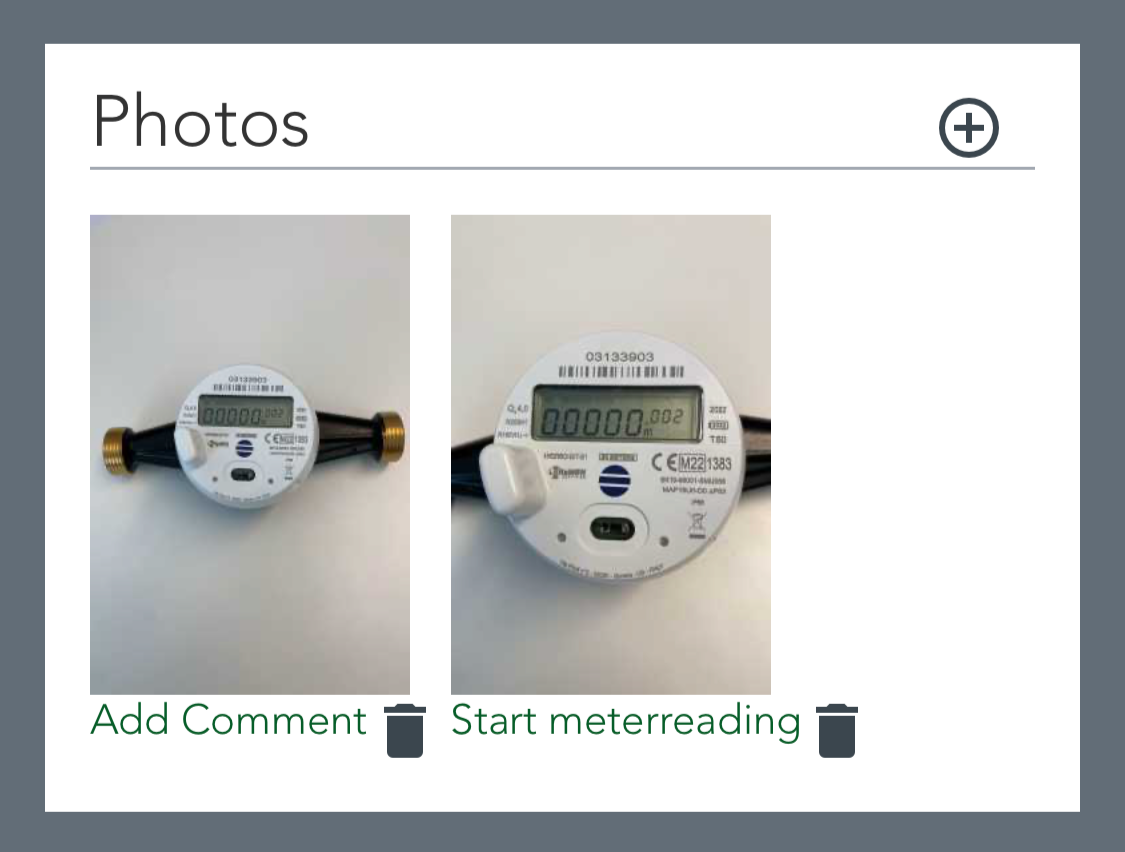
It is possible to add several photos and write comments on each individual photo.
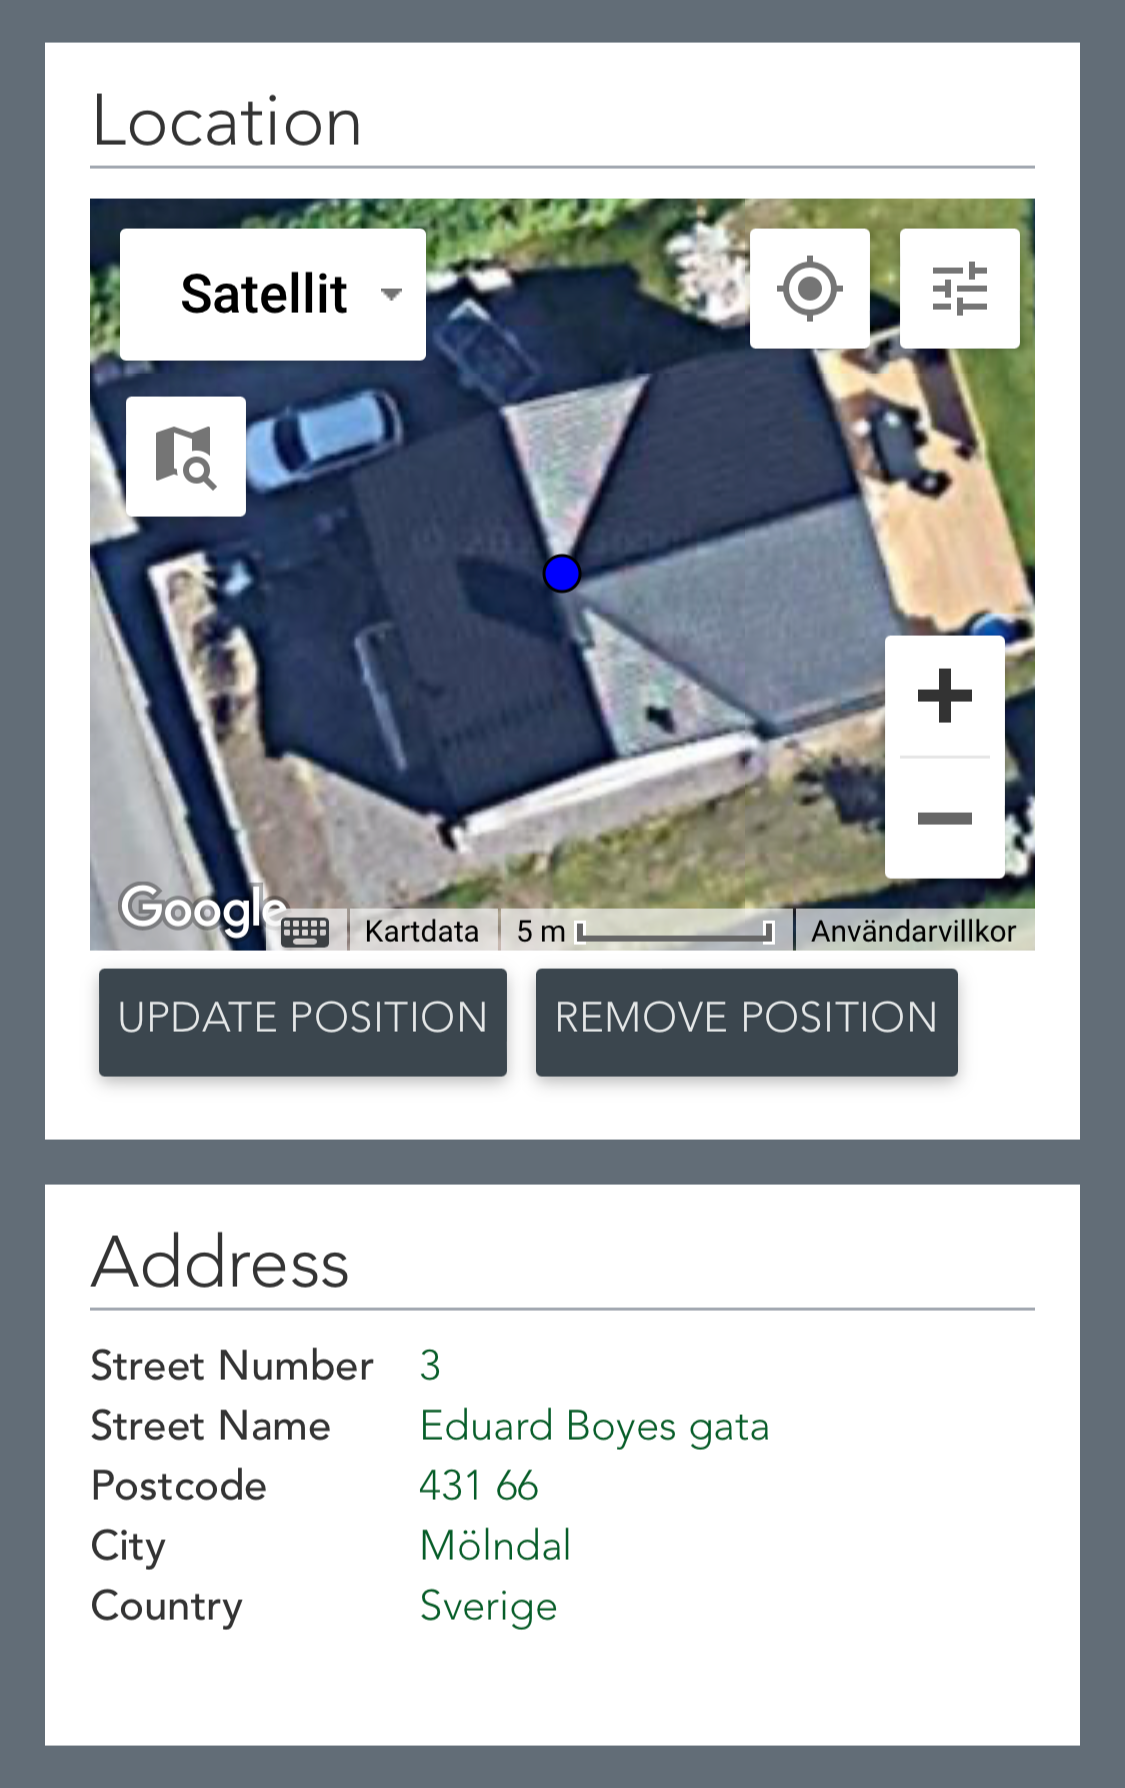
Location
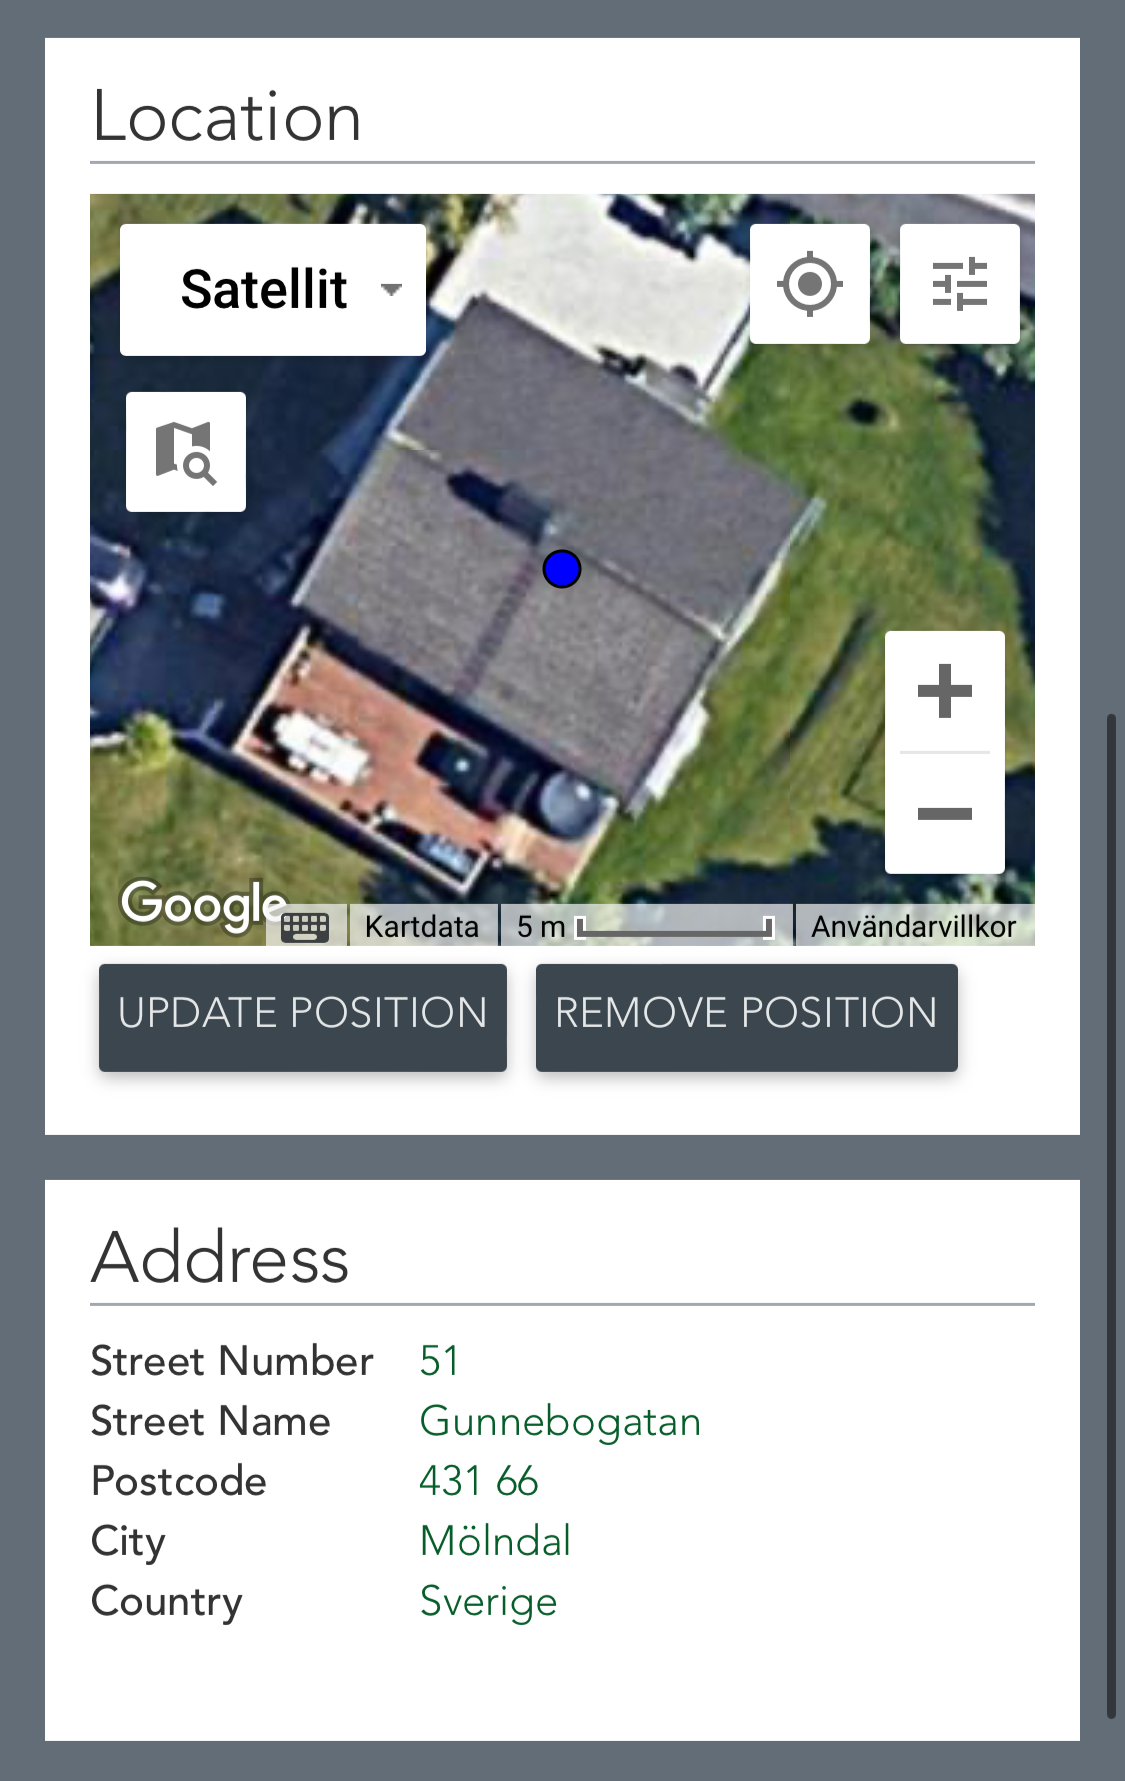 The camera will automatically add the location of our device GPS as a blue icon. Address will automatically be populated.
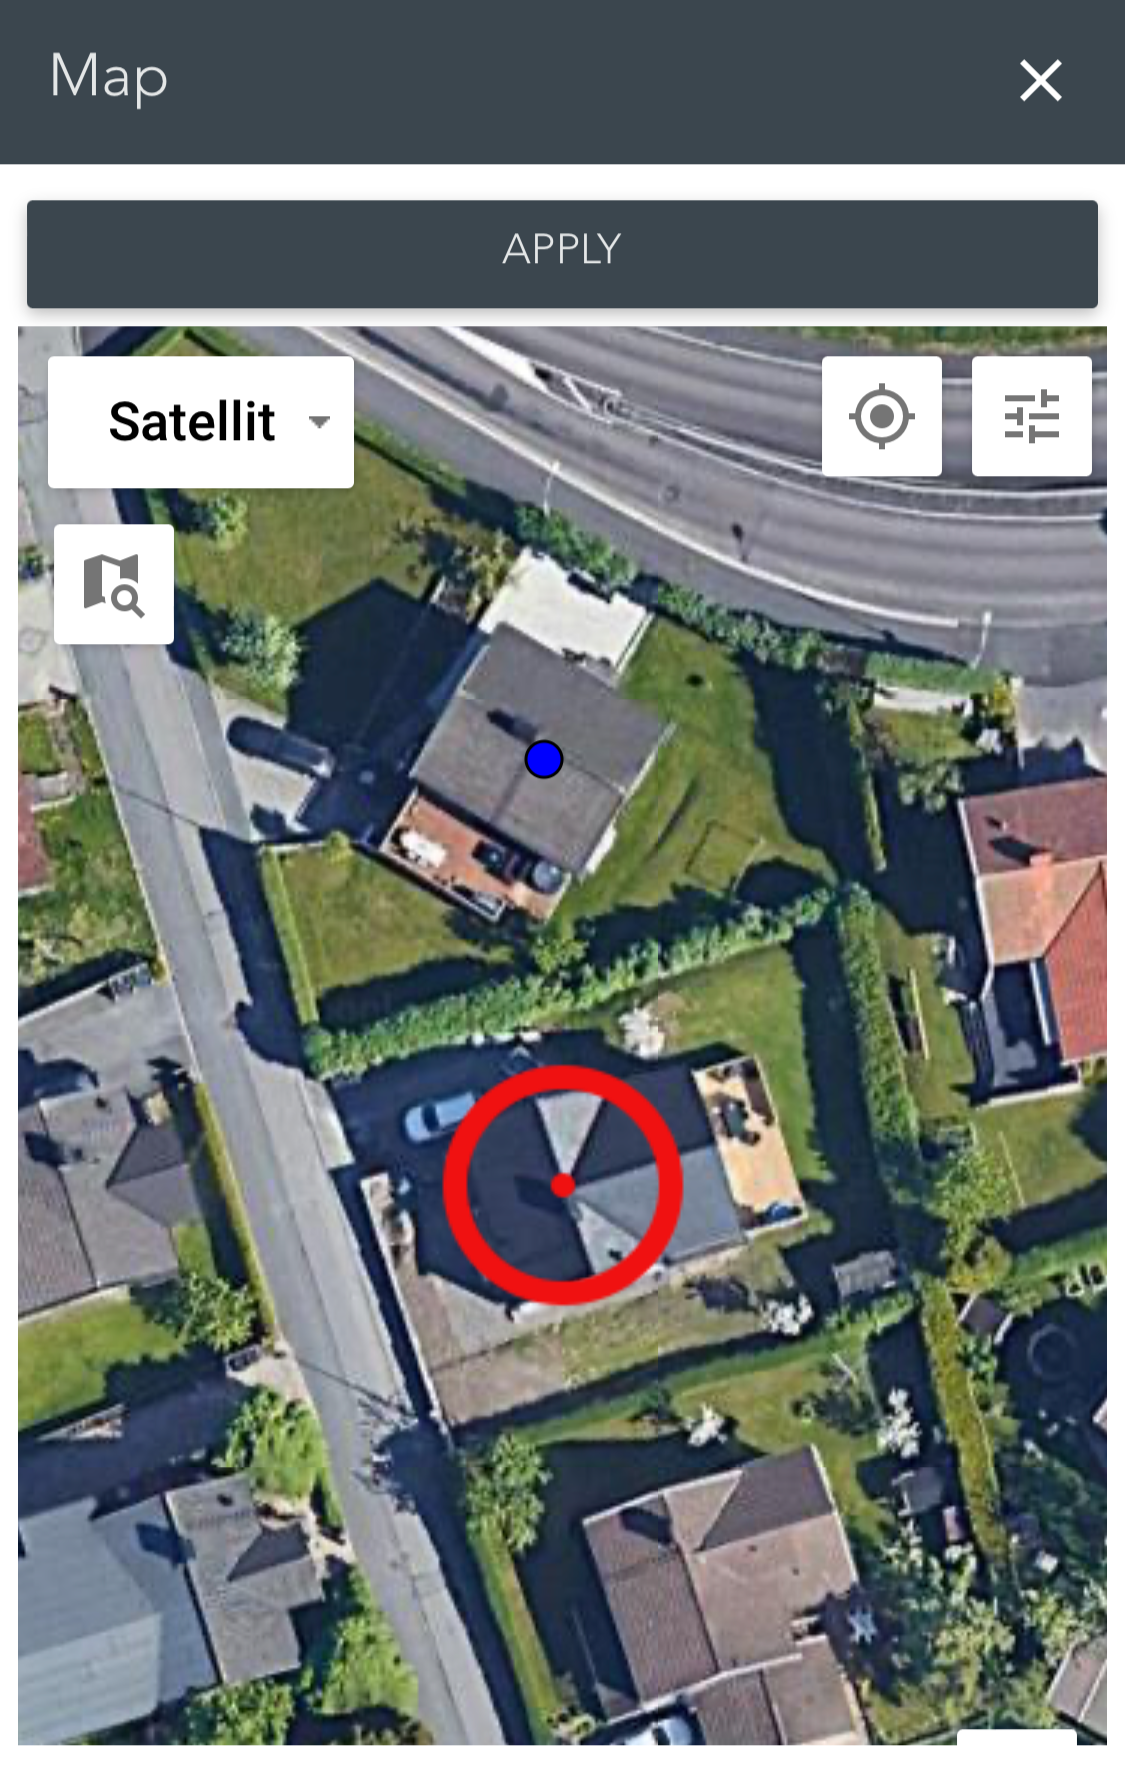
If the location is not correct, it's possible to change the location by clicking UPDATE POSITION button. A popup will appear, and the new location will be seen as a red ring with a dot in the middle. You can move the map around by using two fingers until the red dot is placed at the correct sensor location. When you are done, press the APPLY button above the map.
 Address will automatically be populated with the new location.
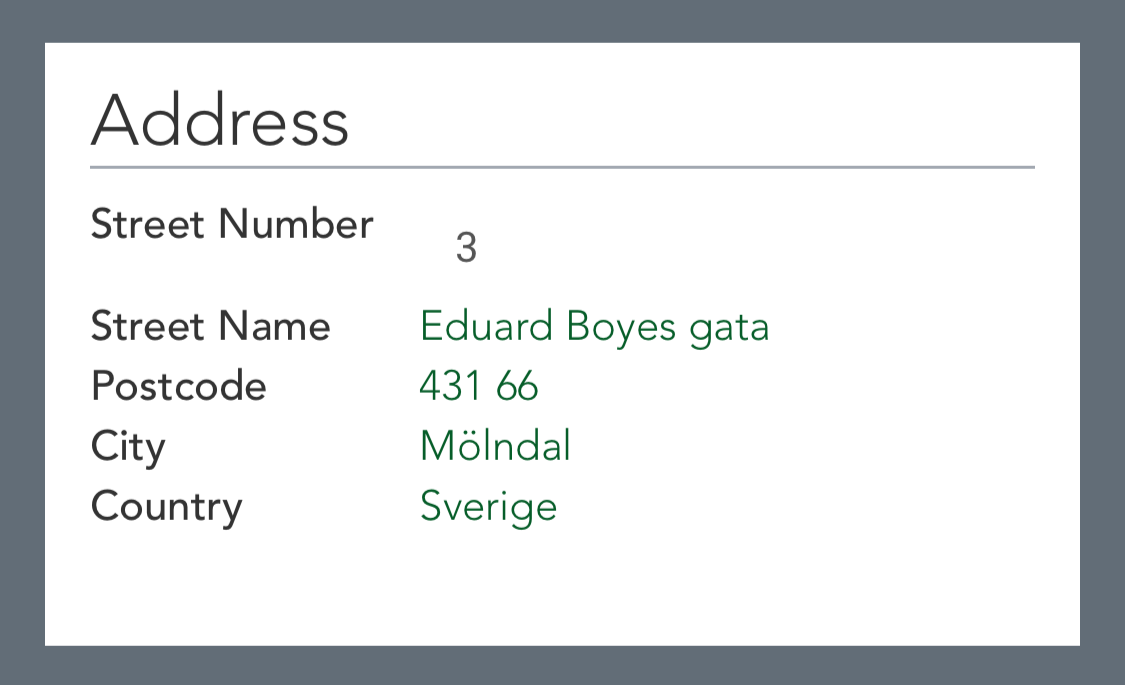
It is also possible to edit the address without affecting position of the location. All green fields are editable and by clicking them it's possible to edit the values.
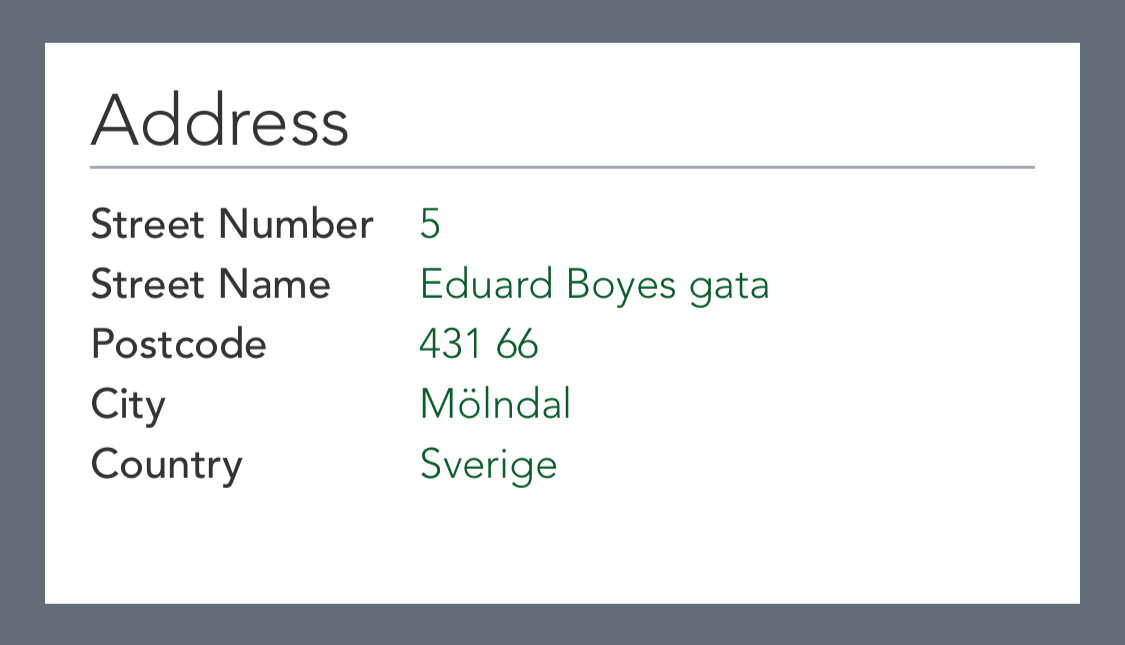
After changes is made you can see that the value has been changed and the field has turned green again.
Tags
Tags can be predefined on a Service Provider and if this is done, they will appear when installing sensors. They can be defined to appear when installing all type of sensors or only to a specific sensor type. If tags already exist on the sensor they will appear with key and value(s).
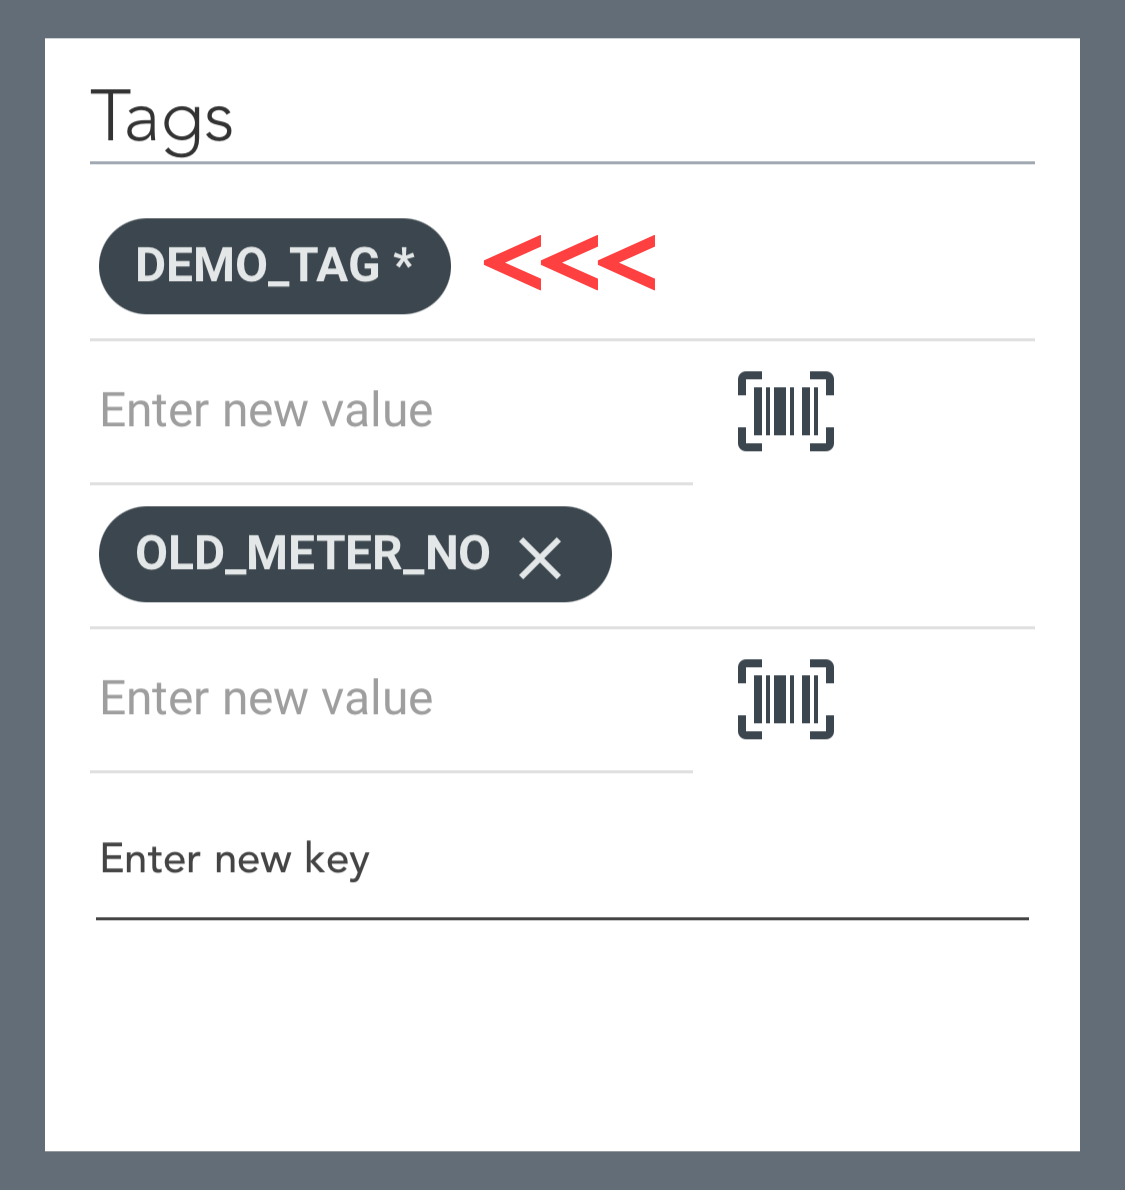
When defining tags, they can be set as mandatory (*). This means that they cannot be deleted and it's mandatory to add at least one value.
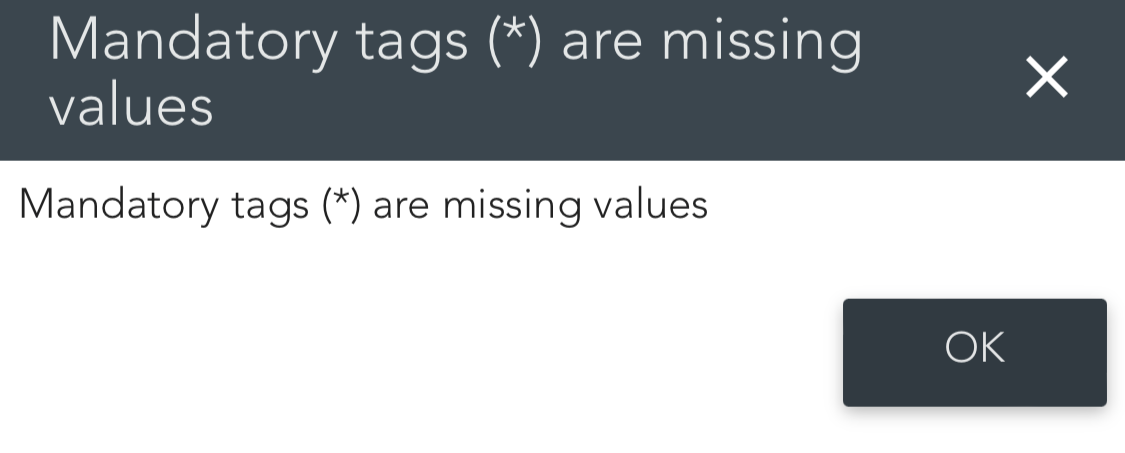
It will not be possible to install a sensor without adding a value to a mandatory tag and if this happens a popup will appear informing about this.
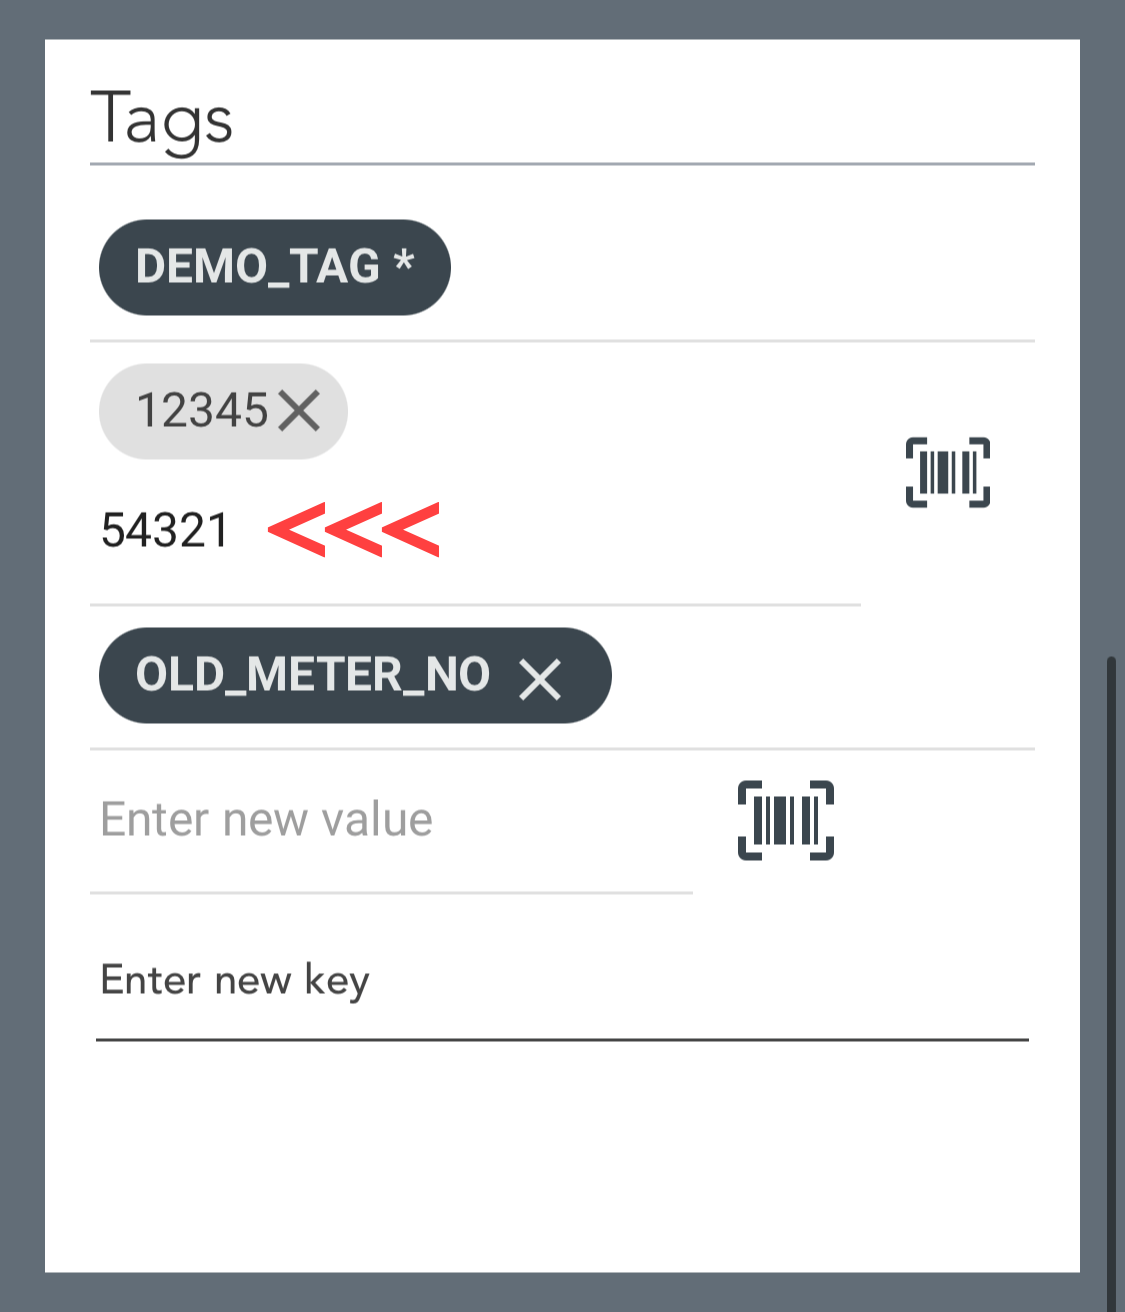
New values can be added to a tag by entering it manually or scanning a barcode / QR-code.
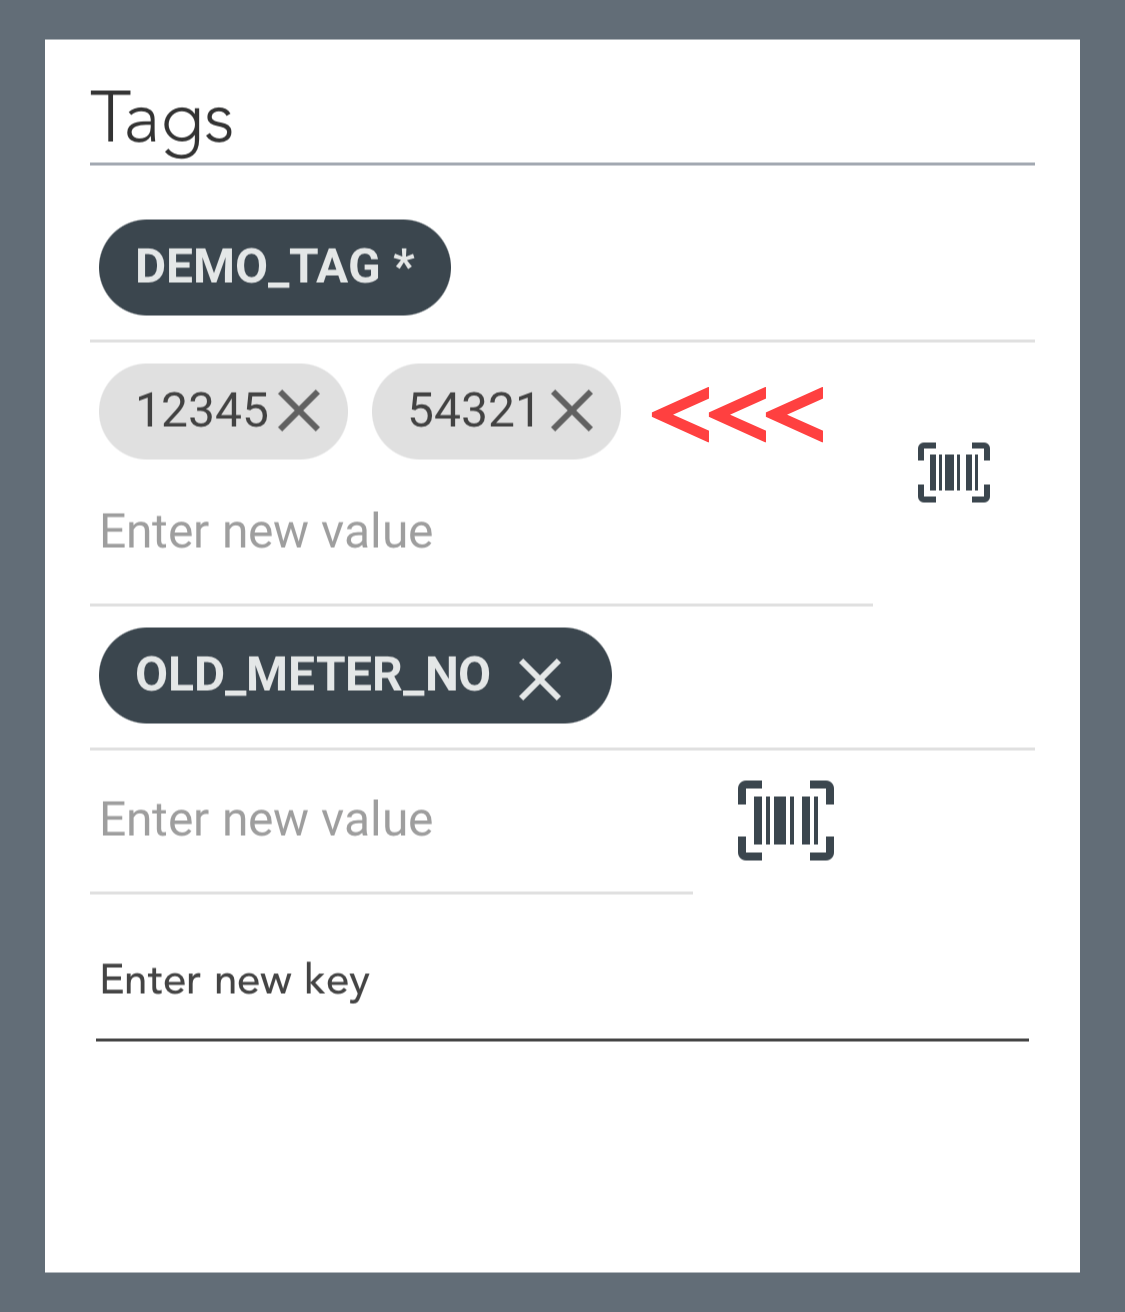
After entering a value manually, the user must click enter on the device to add the value to the tag. It's possible to enter one or several values to a tag.
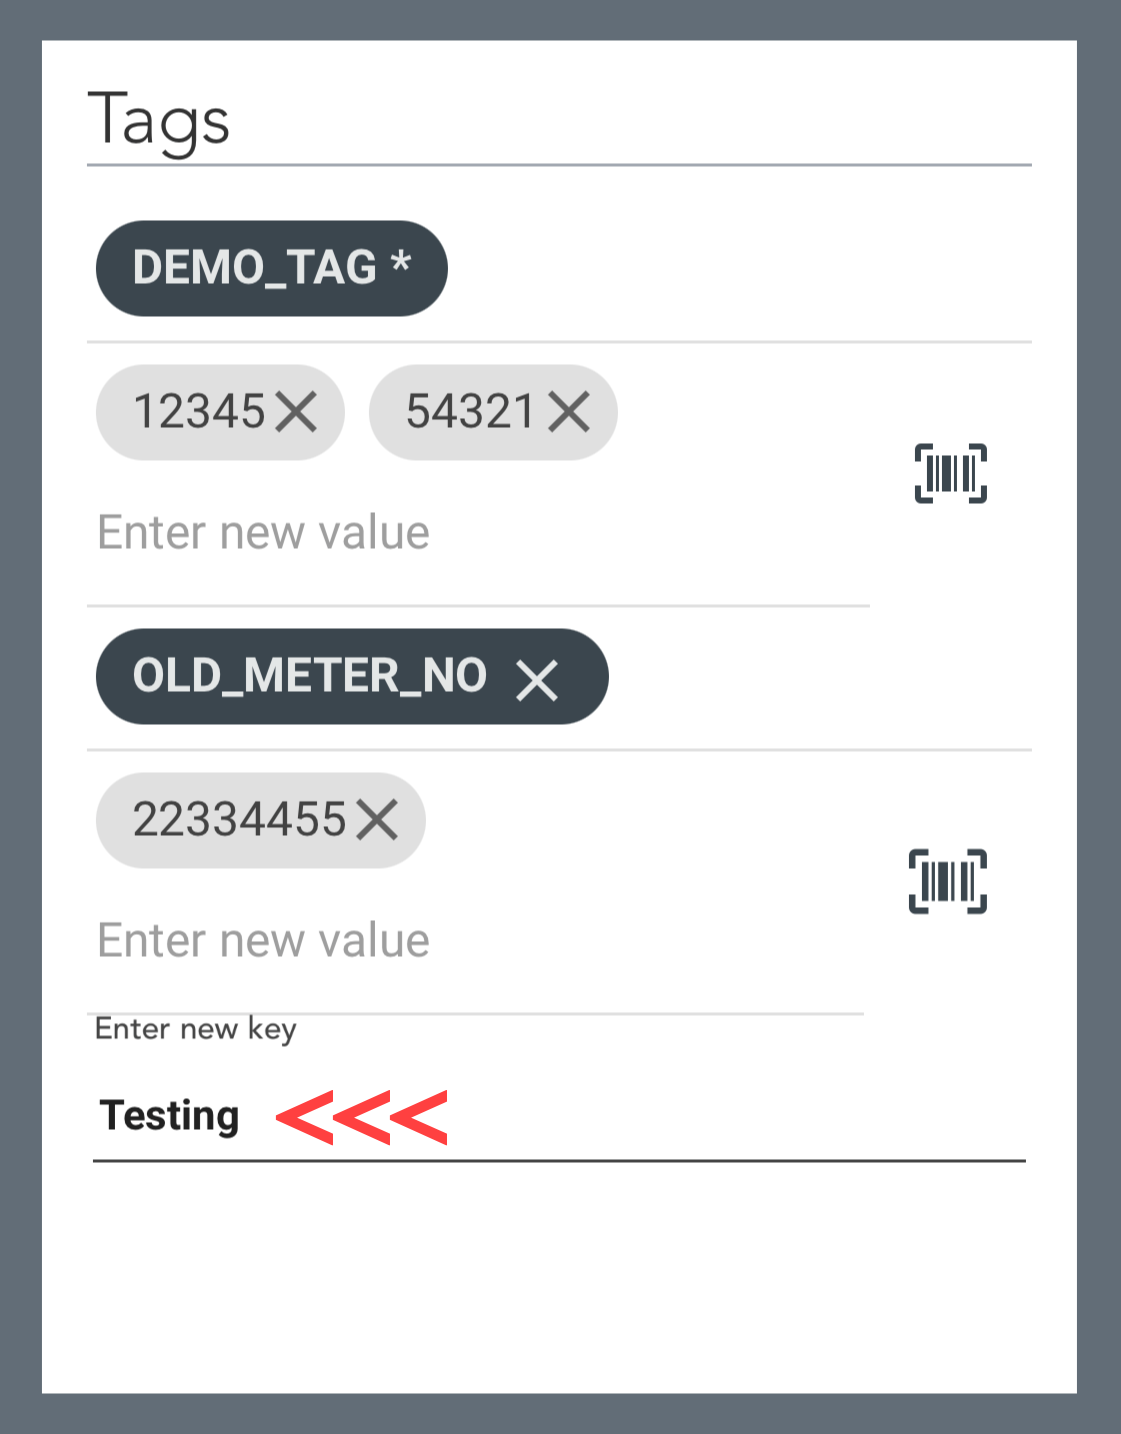
It is also possible to insert new tags as shown above.
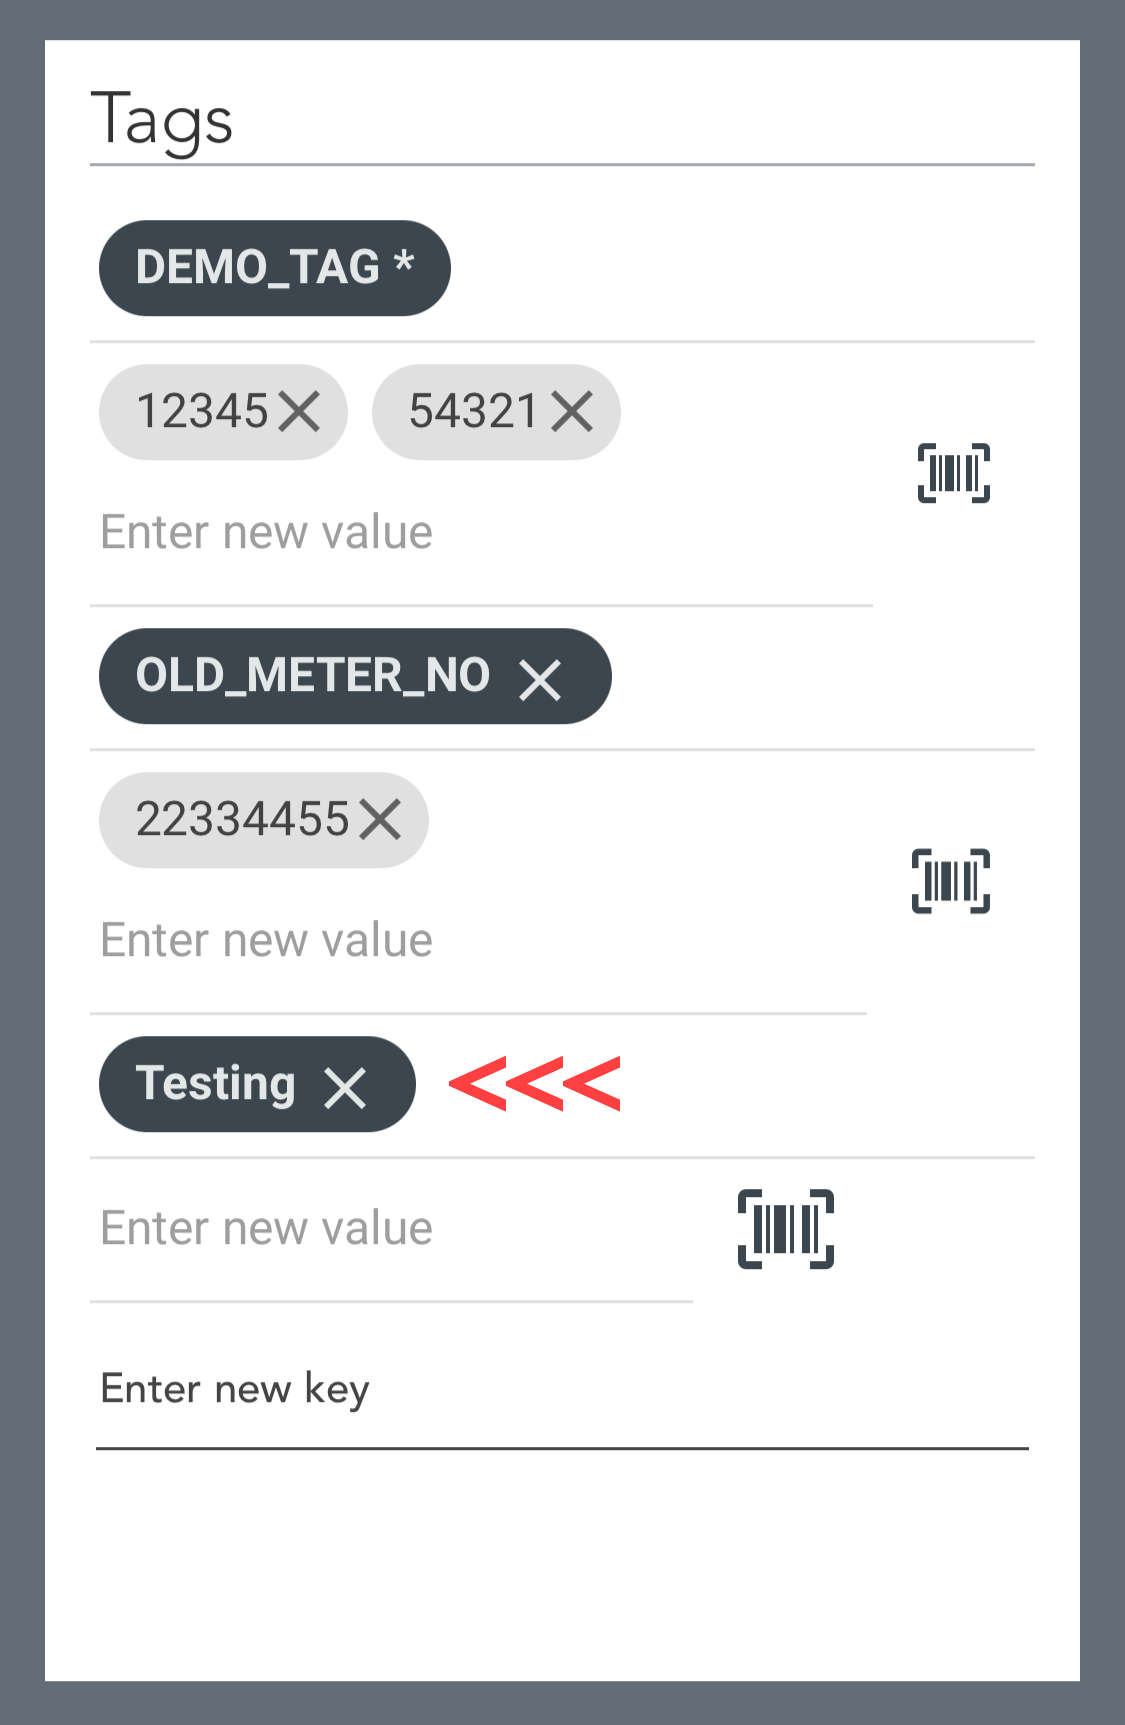
Enter the tag key and click enter on the device.
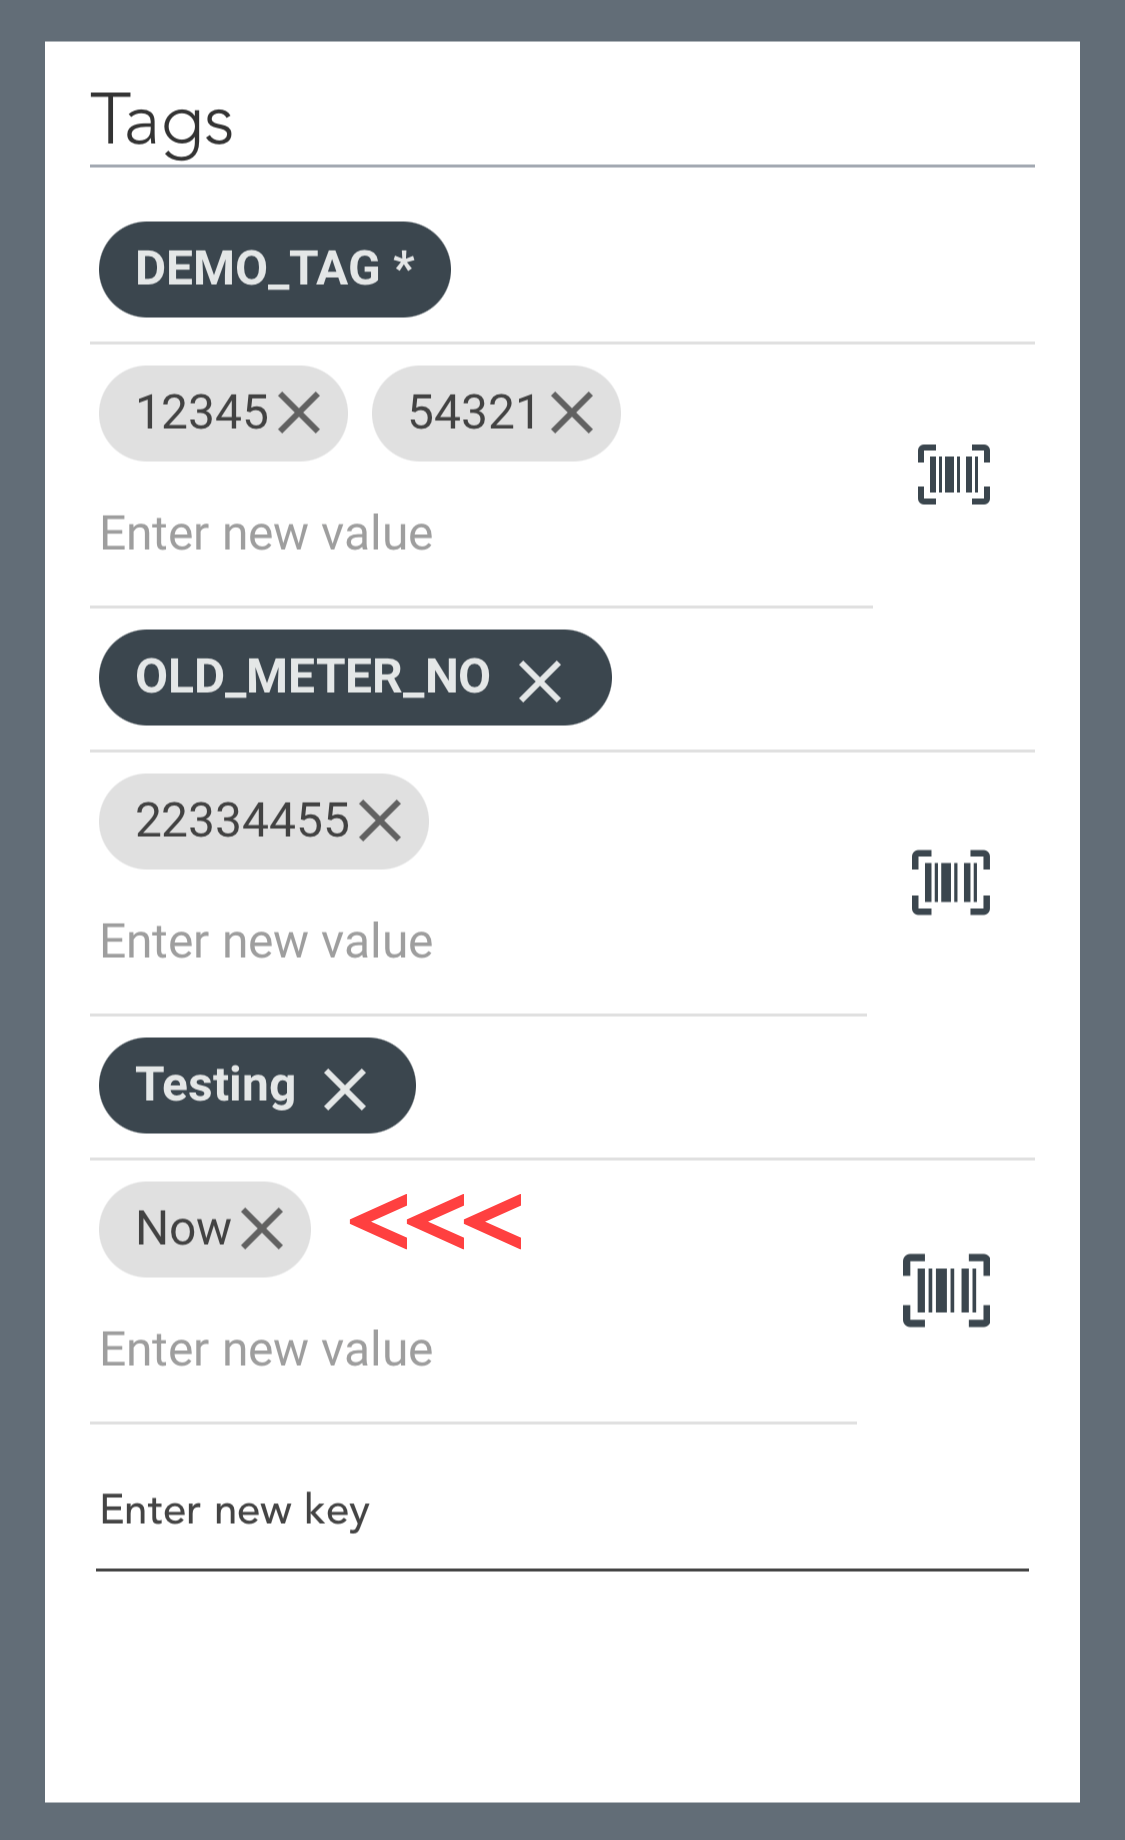
After this it's possible to enter value(s) to the tag.
Latest Communication
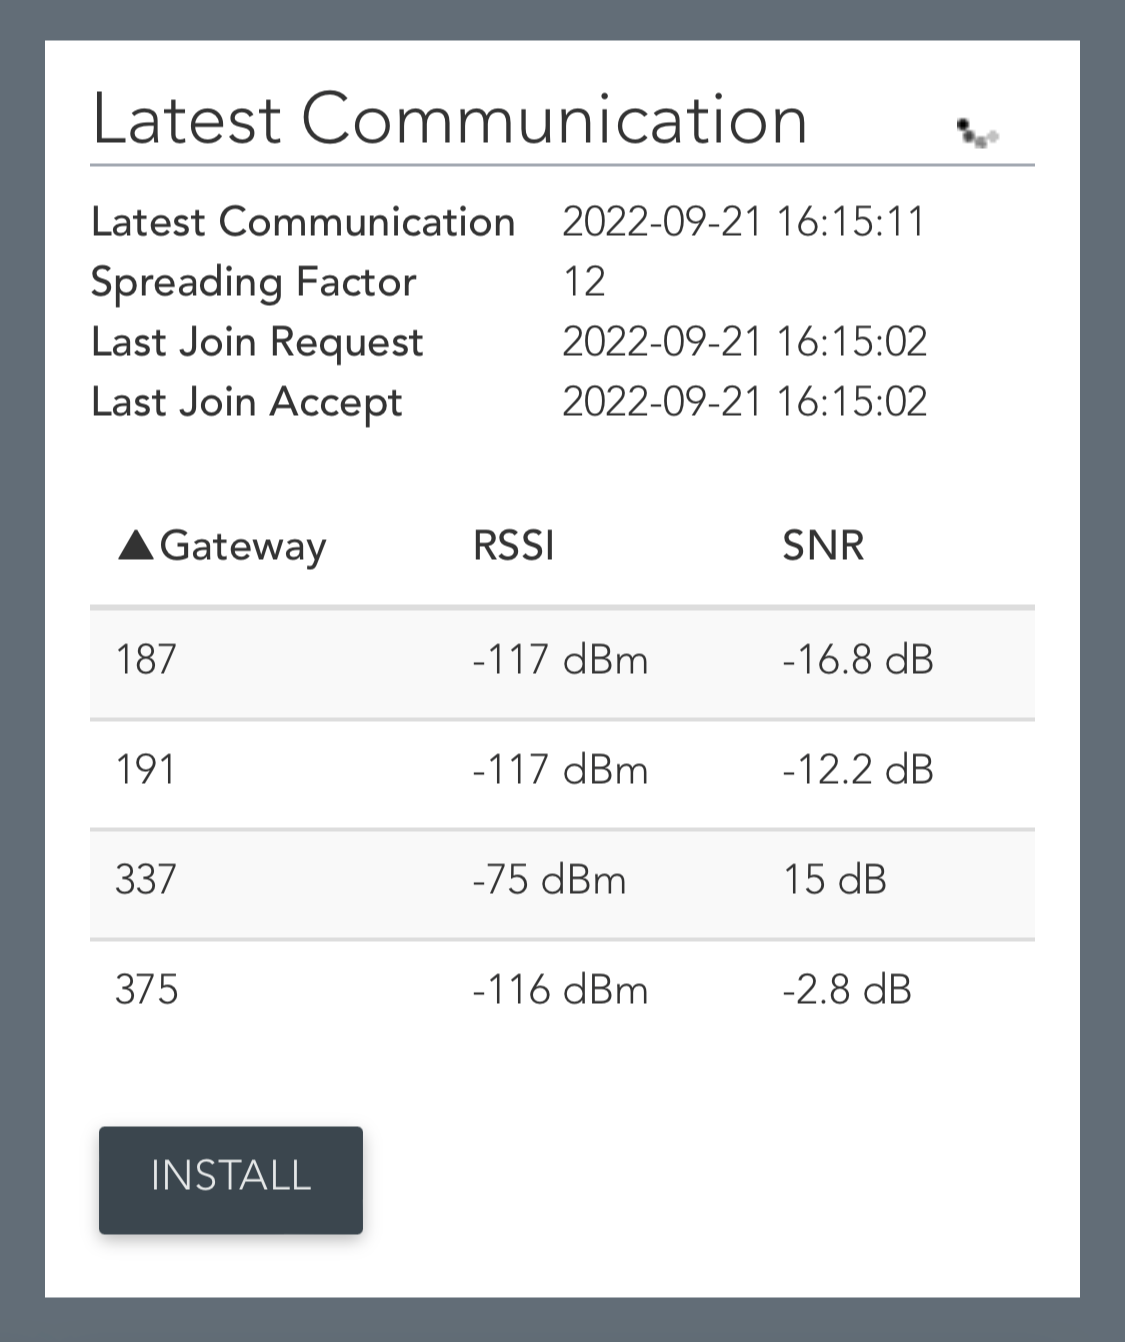
Latest Communication shows how the sensor is communicating with gateways. The user gets direct feedback of the latest communication timestamp, i.e. how good the sensor communicated with each individual gateways. It is also possible to view timestamps for Last Join Request and Last Join Accept that can help the installer analyse if the sensor started communicating.
When the user clicks Install button, the sensor gets installed in the portal with all entered data and then the process starts all over again.